
The Ultimate Guide to Organic Vegetable Gardening for Beginners

There's something magical about harvesting your own fresh, organic vegetables from your backyard. The taste of a sun-warmed tomato still carrying the morning dew or a crisp lettuce leaf picked moments before your salad is incomparable to anything you'll find in a grocery store. Organic vegetable gardening isn't just about growing food—it's about reconnecting with nature, understanding where your food comes from, and taking control of what you and your family consume.
If you're new to gardening, the prospect of starting your own organic vegetable patch might seem overwhelming. Where do you begin? What vegetables are easiest to grow? How do you manage pests without chemicals? Don't worry—this comprehensive guide will walk you through every step of creating your first organic vegetable garden, from planning to harvest.
Why Choose Organic Gardening?
Before diving into the practical aspects, it's important to understand why organic gardening matters. Organic gardening means growing vegetables without synthetic fertilizers, pesticides, or genetically modified organisms. Instead, you work with nature to create a balanced ecosystem where plants can thrive naturally.
The benefits are numerous. Organically grown vegetables contain higher levels of beneficial nutrients, including antioxidants and vitamins. They taste better too—ask anyone who's compared a homegrown organic tomato to a supermarket one. You're also protecting the environment by avoiding chemicals that can harm beneficial insects, pollinators, and soil microorganisms. Plus, you'll save money on groceries while getting valuable outdoor exercise and stress relief.
Step 1: Planning Your Organic Vegetable Garden
Choosing the Right Location
The success of your vegetable garden starts with location. Most vegetables need at least 6-8 hours of direct sunlight daily. Observe your yard throughout the day to identify the sunniest spots. Leafy greens like lettuce and spinach can tolerate partial shade, but fruiting plants like tomatoes, peppers, and squash absolutely need full sun.
Consider water access too. Your garden should be within reach of a hose or watering can—carrying water long distances becomes tiresome quickly. Also think about convenience. A garden near your kitchen door is more likely to be visited regularly for quick harvests and routine care.
Deciding What to Grow
As a beginner, start small and choose vegetables that are known for being easy to grow. Here are the best options for first-time gardeners:
| Vegetable | Difficulty | Days to Harvest | Best Season |
|---|---|---|---|
| Leafy Greens (lettuce, spinach) | Very Easy | 30-45 days | Spring/Fall |
| Radishes | Very Easy | 25-30 days | Spring/Fall |
| Cherry Tomatoes | Easy | 60-80 days | Summer |
| Bush Beans | Easy | 50-60 days | Summer |
| Zucchini | Easy | 50-70 days | Summer |
| Carrots | Moderate | 70-80 days | Spring/Fall |
Start with 3-5 vegetable varieties your family actually enjoys eating. There's no point growing kale if no one will eat it!
Garden Size Considerations
A 4x4 foot raised bed or a 4x8 foot in-ground plot is perfect for beginners. This size is manageable—you can weed, water, and harvest without feeling overwhelmed. You'll be surprised how much food you can grow in a small space with proper planning.

Step 2: Preparing Your Soil
Soil is the foundation of organic gardening. Healthy soil grows healthy plants that naturally resist pests and diseases. Most gardeners spend 80% of their effort on soil preparation and 20% on everything else.
Testing Your Soil
Before planting, test your soil to understand what you're working with. Home testing kits are available at garden centers, or you can send samples to your local agricultural extension office for detailed analysis. You'll learn your soil's pH level and nutrient content.
Most vegetables prefer slightly acidic soil with a pH between 6.0 and 7.0. If your soil is too acidic, add garden lime. If it's too alkaline, incorporate sulfur or organic matter like pine needles.
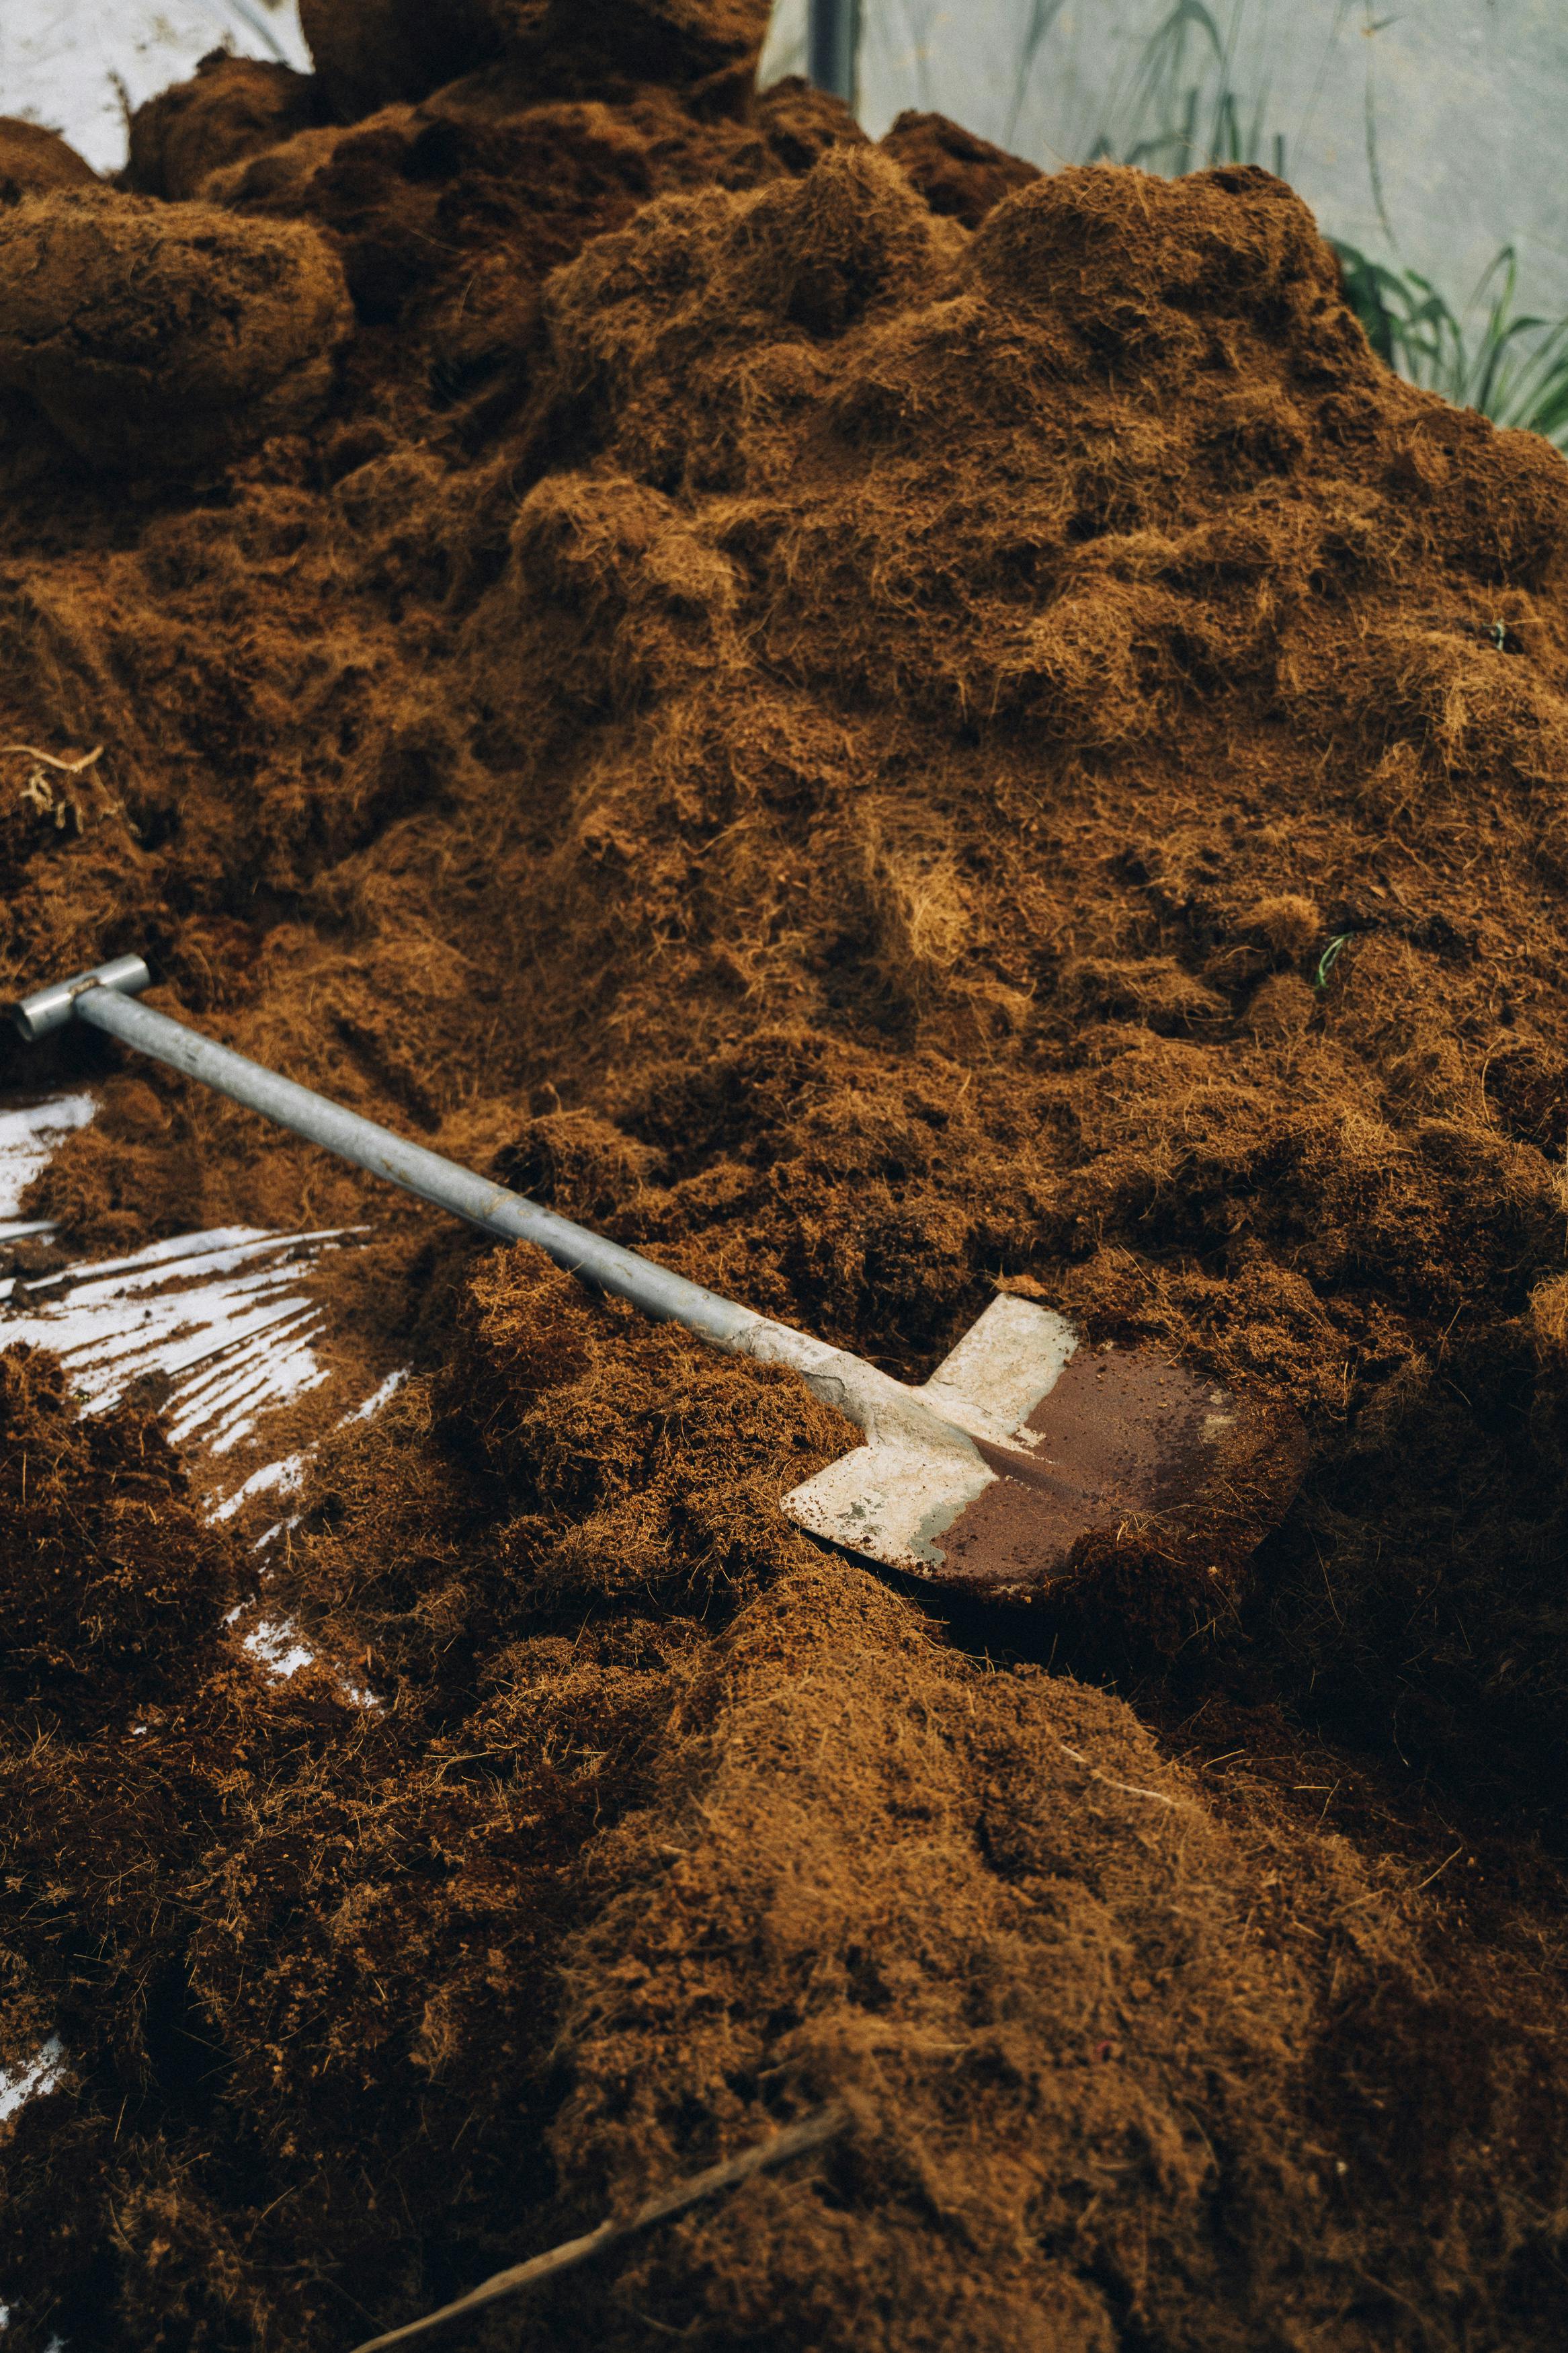
Building Organic Matter
Organic matter is the secret ingredient in successful organic gardens. It improves drainage in clay soils, helps sandy soils retain moisture, and provides food for beneficial soil organisms.
Best Organic Materials to Add:
- Compost: Homemade or purchased, compost adds nutrients and improves soil structure
- Aged Manure: Chicken, cow, or horse manure that's been composted for at least 6 months
- Leaf Mold: Decomposed leaves are excellent for soil health
- Worm Castings: Rich in nutrients and beneficial microorganisms
Work 2-3 inches of organic matter into the top 6-8 inches of soil. This creates a rich, loose growing medium where roots can easily spread.
Step 3: Starting Your Plants
Seeds vs. Transplants
You have two options for getting plants into your garden: seeds or transplants. Each has advantages.
Starting from Seeds: More variety options—hundreds of tomato varieties aren't available as transplants. Much less expensive. Satisfying to watch plants grow from tiny seeds. Roots develop without transplant shock.
Using Transplants: Faster results—you're weeks ahead. Better for warm-season crops in short-summer regions. Easier for beginners who might struggle with seed starting.
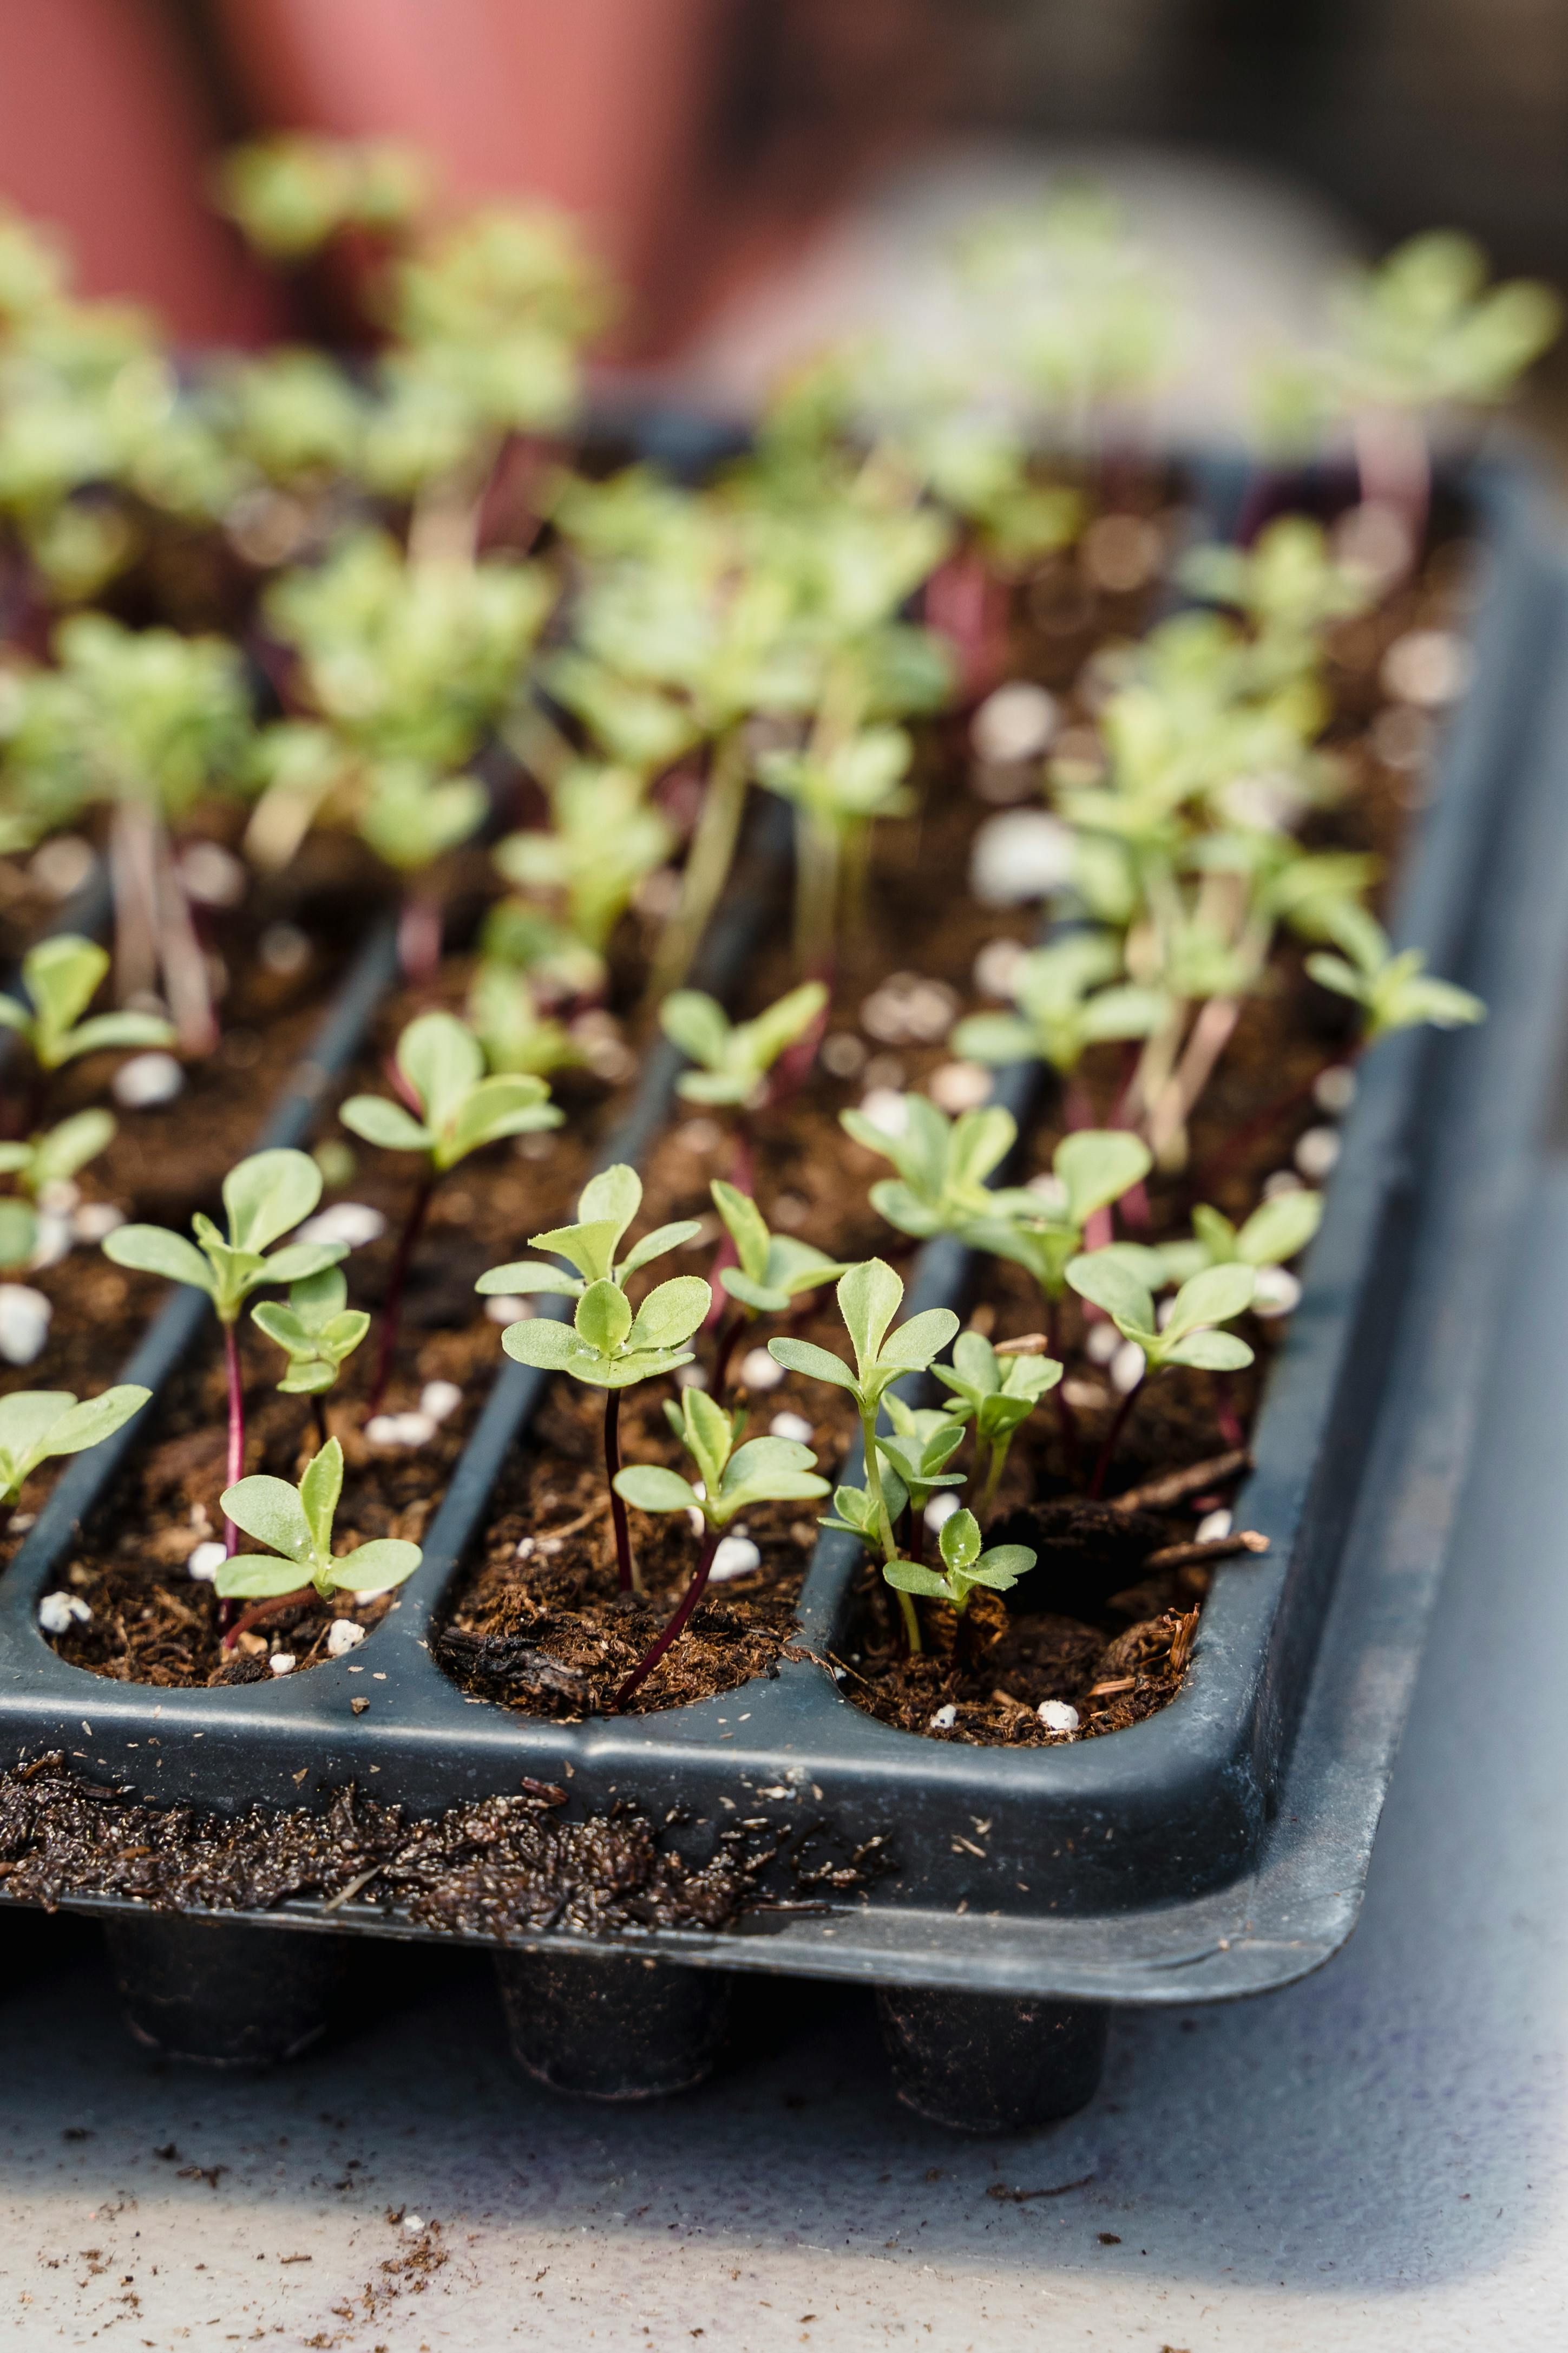
Many gardeners use a combination. Start easy crops like beans, peas, carrots, and radishes directly from seed. Purchase transplants for tomatoes, peppers, and eggplant, or start them indoors 6-8 weeks before your last frost date.
When to Plant
Timing is critical in vegetable gardening. Planting too early risks frost damage; planting too late means your vegetables won't mature before cold weather returns.
Find your area's average last spring frost date and first fall frost date. This determines your growing season length. Most seed packets and transplant tags provide planting guidelines based on these dates.
- Cool-season crops (peas, lettuce, spinach, carrots): Plant 2-4 weeks before last frost
- Warm-season crops (tomatoes, peppers, beans, squash): Plant after all danger of frost has passed
- Fall gardens: Plant cool-season crops 6-8 weeks before first frost
Step 4: Organic Fertilizing Methods
In organic gardening, you feed the soil, and the soil feeds the plants. This approach builds long-term fertility rather than providing quick fixes.
Organic Fertilizer Options
- Compost Tea: Steep a shovel of compost in a bucket of water for 24-48 hours, then use the liquid to water your plants.
- Fish Emulsion: High in nitrogen, excellent for leafy greens.
- Seaweed Extract: Rich in trace minerals and growth hormones.
- Bone Meal: High in phosphorus, supports root development and flowering.
- Blood Meal: Fast-acting nitrogen source for heavy feeders.
Composting at Home
Every organic gardener should compost. It's free, easy, and transforms kitchen scraps and yard waste into garden gold. Start a simple compost pile or use a bin. Layer green materials (kitchen scraps, fresh grass clippings) with brown materials (dried leaves, straw, shredded paper). Keep moist and turn occasionally. In 3-6 months, you'll have rich compost for your garden.
Step 5: Watering Wisely
Proper watering is often the difference between gardening success and failure. Vegetables need consistent moisture, especially when fruiting.
Watering Best Practices
- Water Deeply and Infrequently: This encourages deep root growth, making plants more drought-tolerant.
- Water at the Base: Avoid wetting leaves, which can promote fungal diseases.
- Water in the Morning: Plants have all day to dry, reducing disease risk.
- Mulch, Mulch, Mulch: A 2-3 inch layer of organic mulch conserves moisture, suppresses weeds, and adds organic matter.
Step 6: Natural Pest Management
Every gardener faces pests, but organic methods offer effective solutions without toxic chemicals.
Prevention First
Healthy plants in healthy soil resist pests naturally. Beyond that:
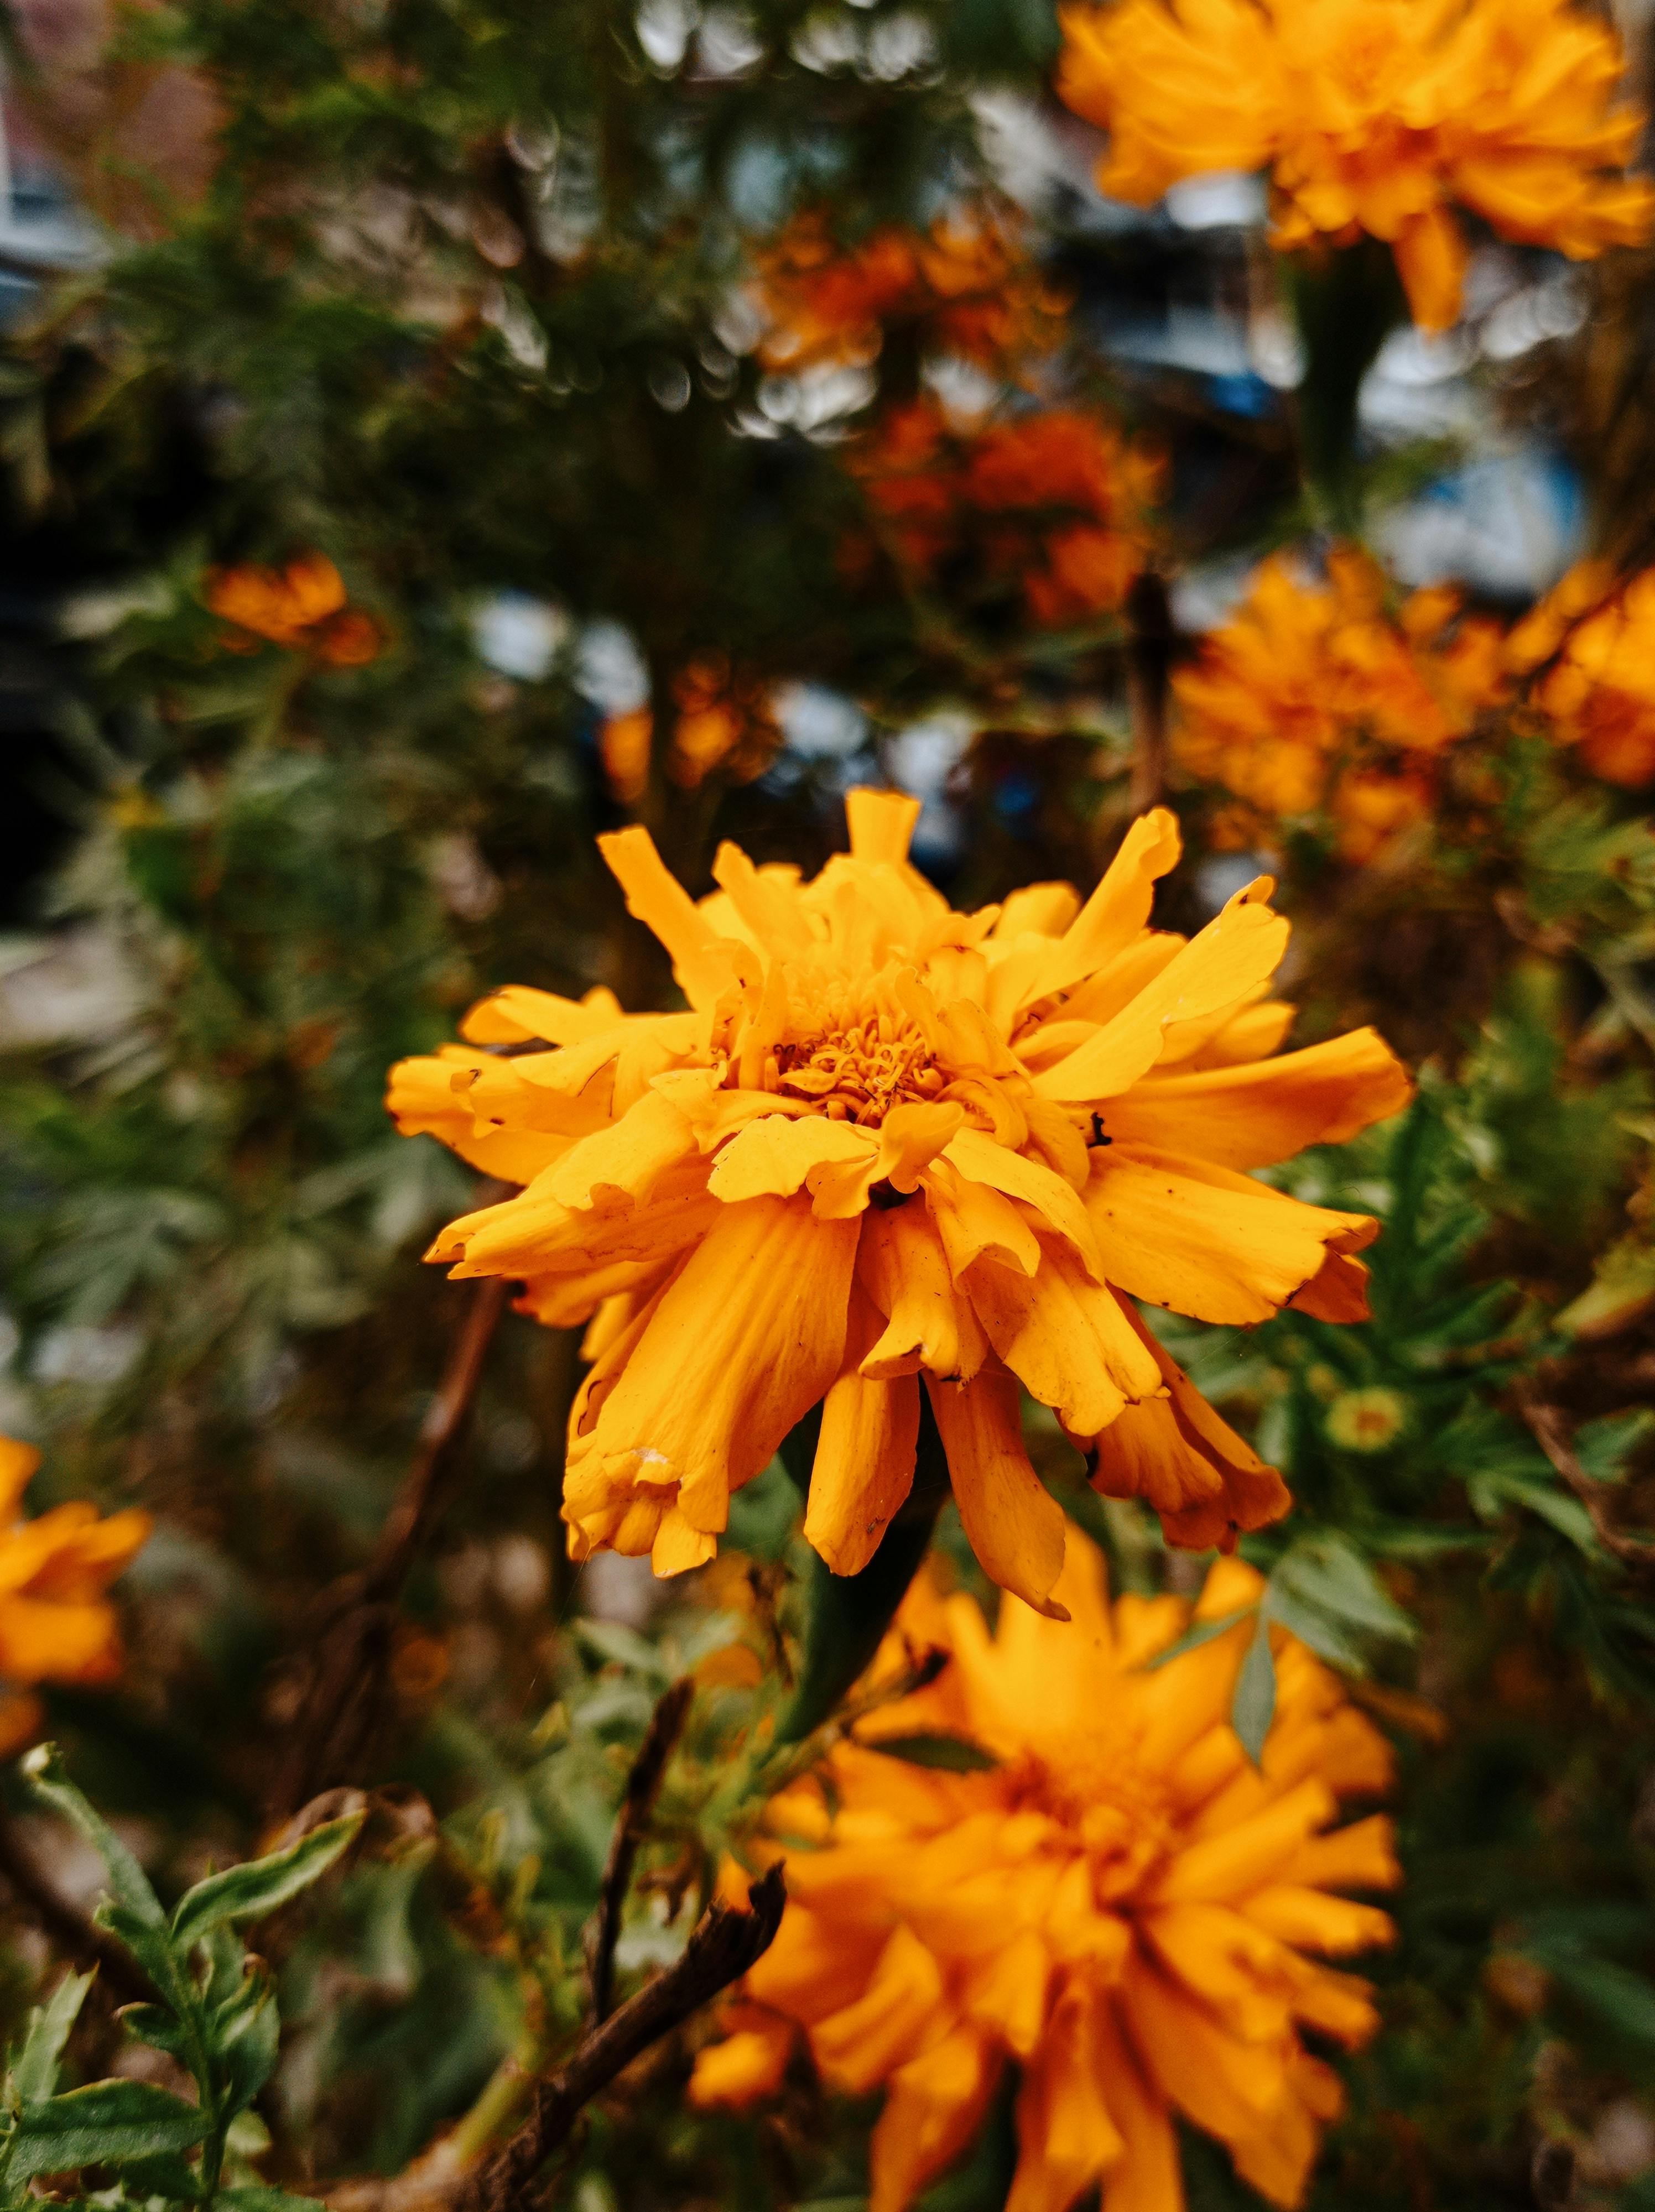
Companion Planting: Some plant combinations deter pests. Marigolds repel nematodes; basil improves tomato growth and repels flies; nasturtiums trap aphids away from other plants.
Crop Rotation: Don't plant the same vegetable family in the same spot year after year. This prevents pest and disease buildup.
Physical Barriers: Row covers exclude pests while letting light and water through.
When Pests Appear
- Handpicking: For large pests like tomato hornworms, handpicking is effective.
- Beneficial Insects: Attract ladybugs, lacewings, and parasitic wasps by planting flowers like dill and yarrow.
- Organic Sprays: As last resort, use insecticidal soap, neem oil, or Bt for specific problems.
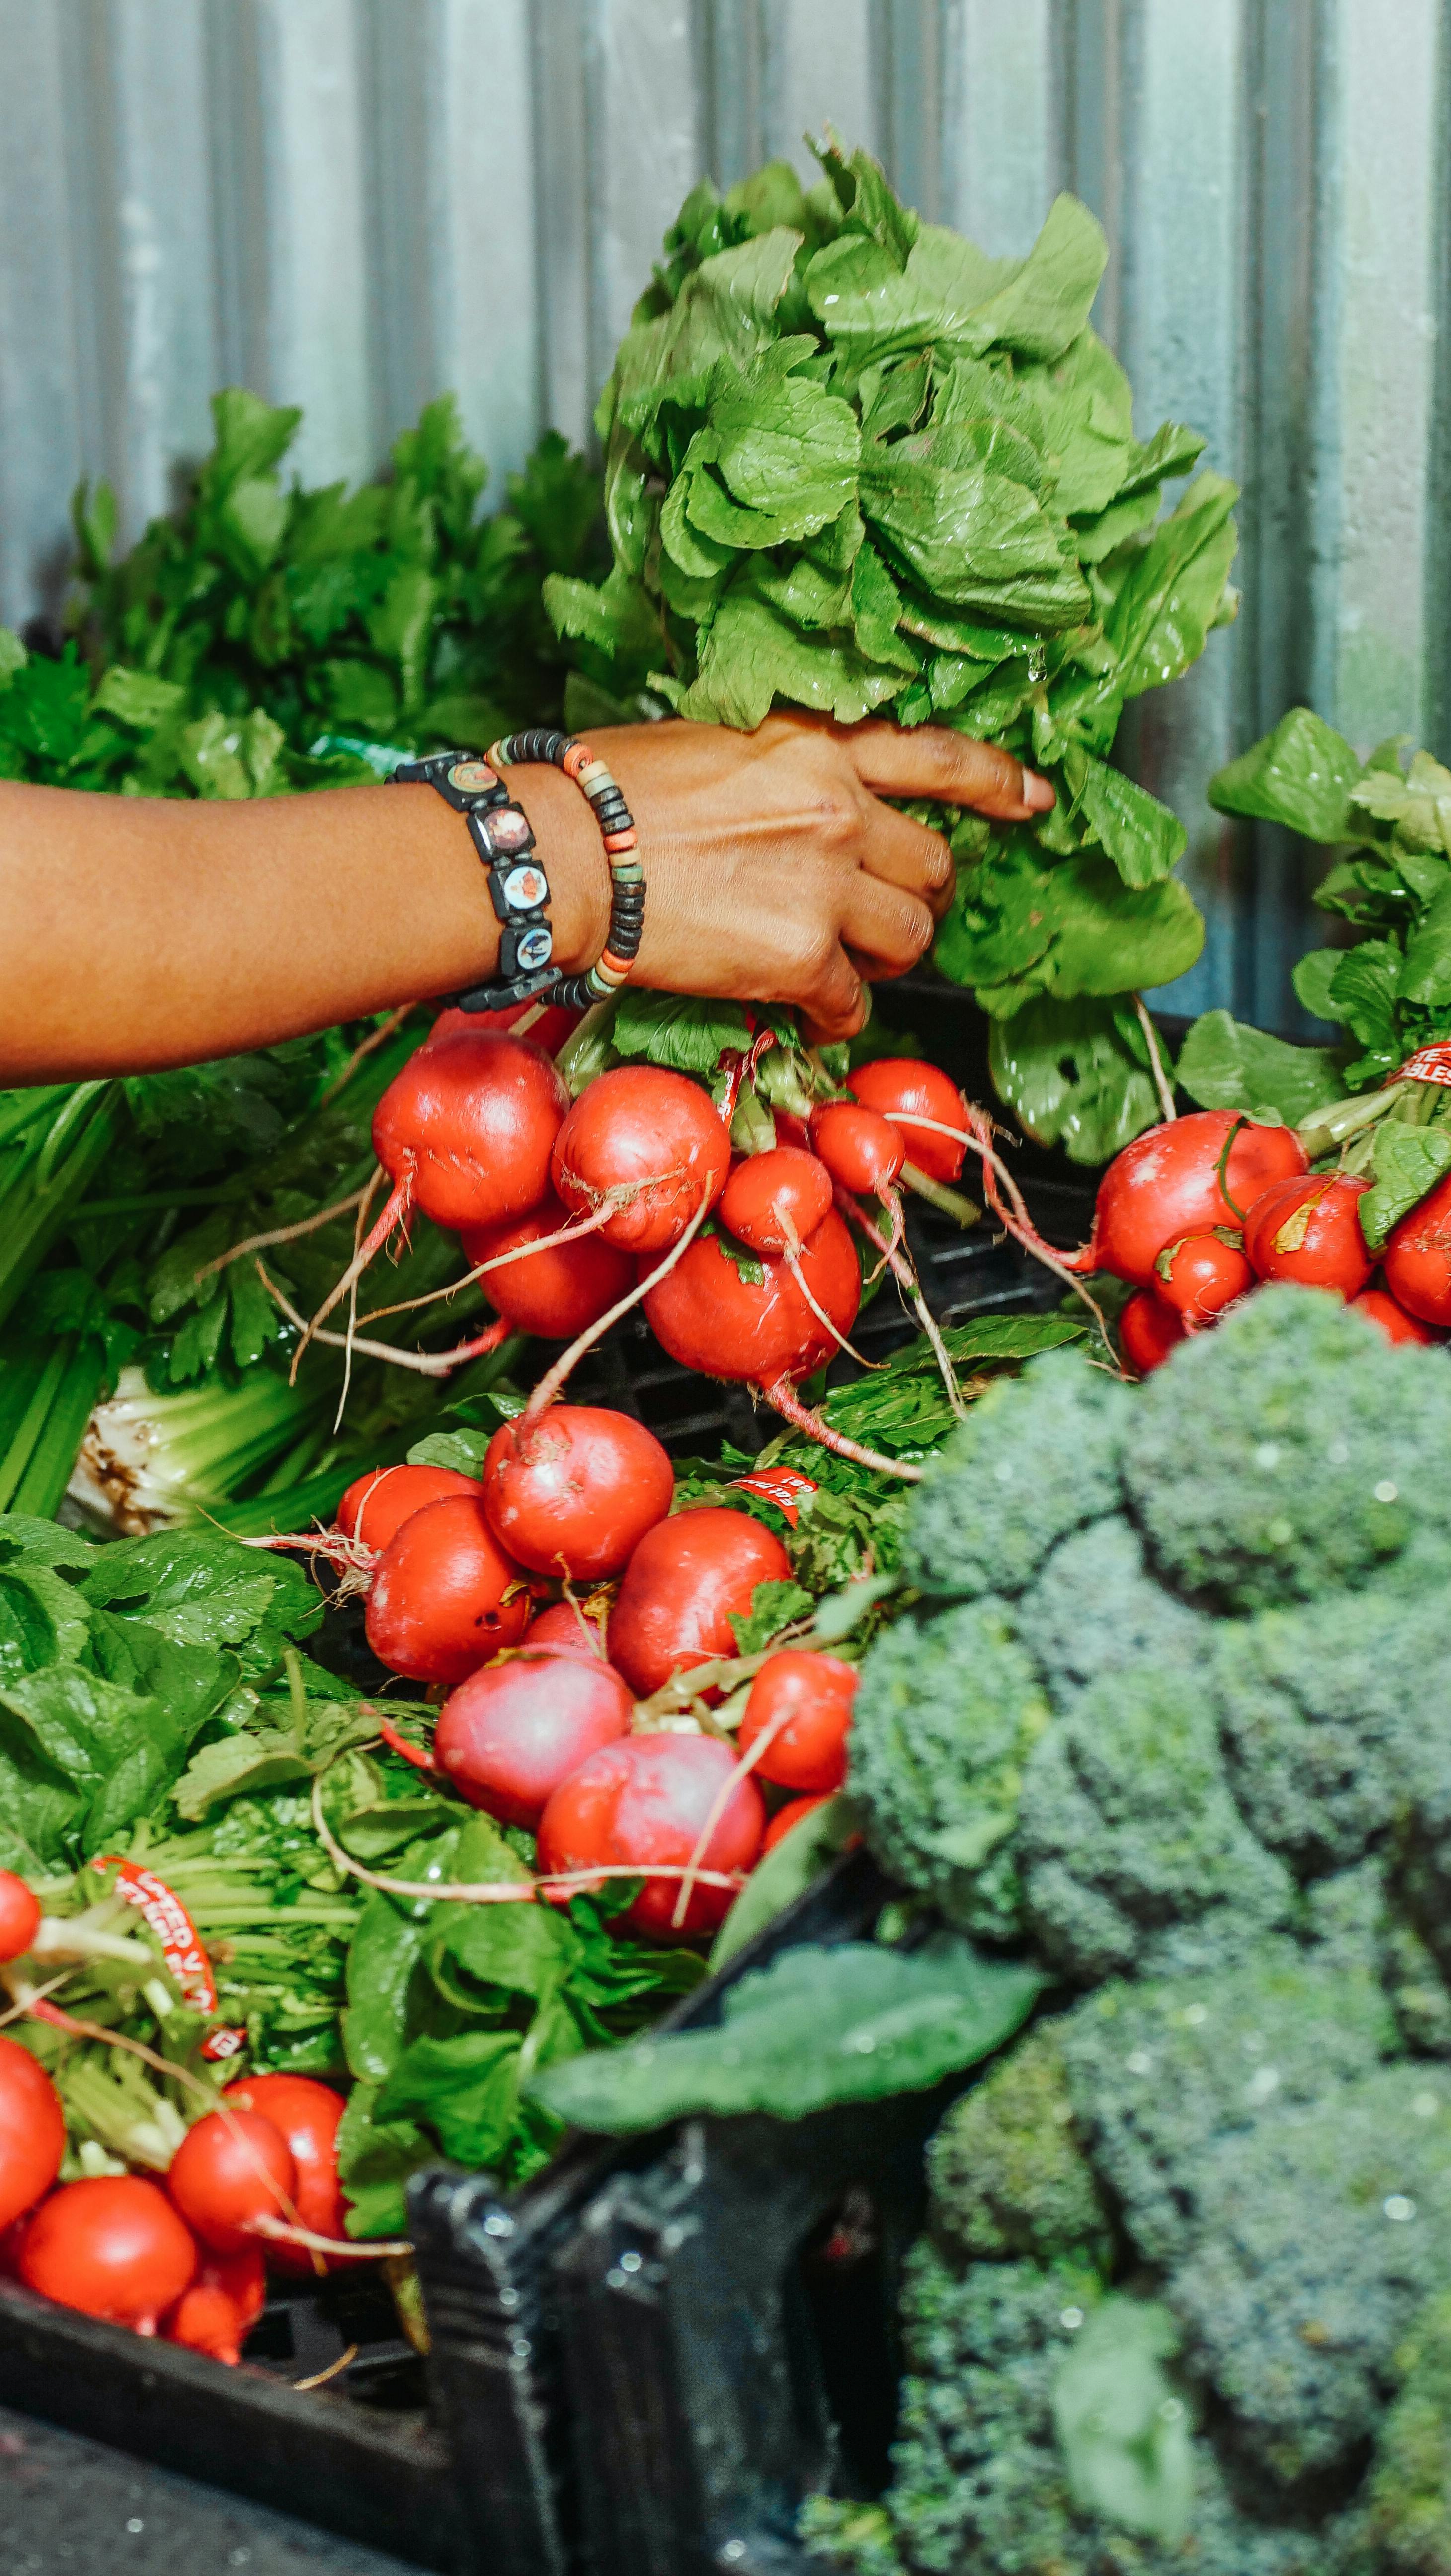
Step 7: Harvesting and Storage
When to Harvest Common Vegetables
- Leafy Greens: Harvest outer leaves as needed, leaving the center to continue growing.
- Tomatoes: Pick when fully colored but still firm.
- Peppers: Sweet peppers can be harvested green or left to ripen.
- Beans: Pick when pods are slim and tender before seeds swell.
- Zucchini: Harvest when 6-8 inches long.
- Root Crops: Carrots and beets are ready when shoulders appear at soil level.
Common Mistakes Beginners Make (And How to Avoid Them)
- Planting Too Much: Start small and expand next year
- Planting Too Close: Follow spacing guidelines on seed packets
- Inconsistent Watering: Set a schedule and stick to it
- Ignoring Weeds: Weeds compete for water and nutrients
- Fertilizing Excessively: More isn't better—follow organic guidelines
Pro Tip for Beginners
Keep a gardening journal. Record what you planted, when, and how it performed. Note weather patterns, pest issues, and harvest dates. This information becomes invaluable for planning next year's garden and learning from both successes and failures.
Conclusion
Starting an organic vegetable garden is one of the most rewarding projects you'll ever undertake. Yes, there's a learning curve, but every mistake teaches you something valuable. The first time you harvest vegetables you grew yourself—vegetables that traveled only from your backyard to your plate—you'll understand why gardeners are so passionate about what they do.
Remember that organic gardening is a journey, not a destination. Each season brings new lessons and opportunities to improve. Start small, be patient with yourself and your plants, and enjoy the process. Before long, you'll be sharing your extra zucchini with neighbors and offering gardening advice to friends who admire your thriving vegetable patch.
Now go outside, get your hands dirty, and start growing!