
The Complete Guide to Growing Tomatoes: From Seed to Harvest
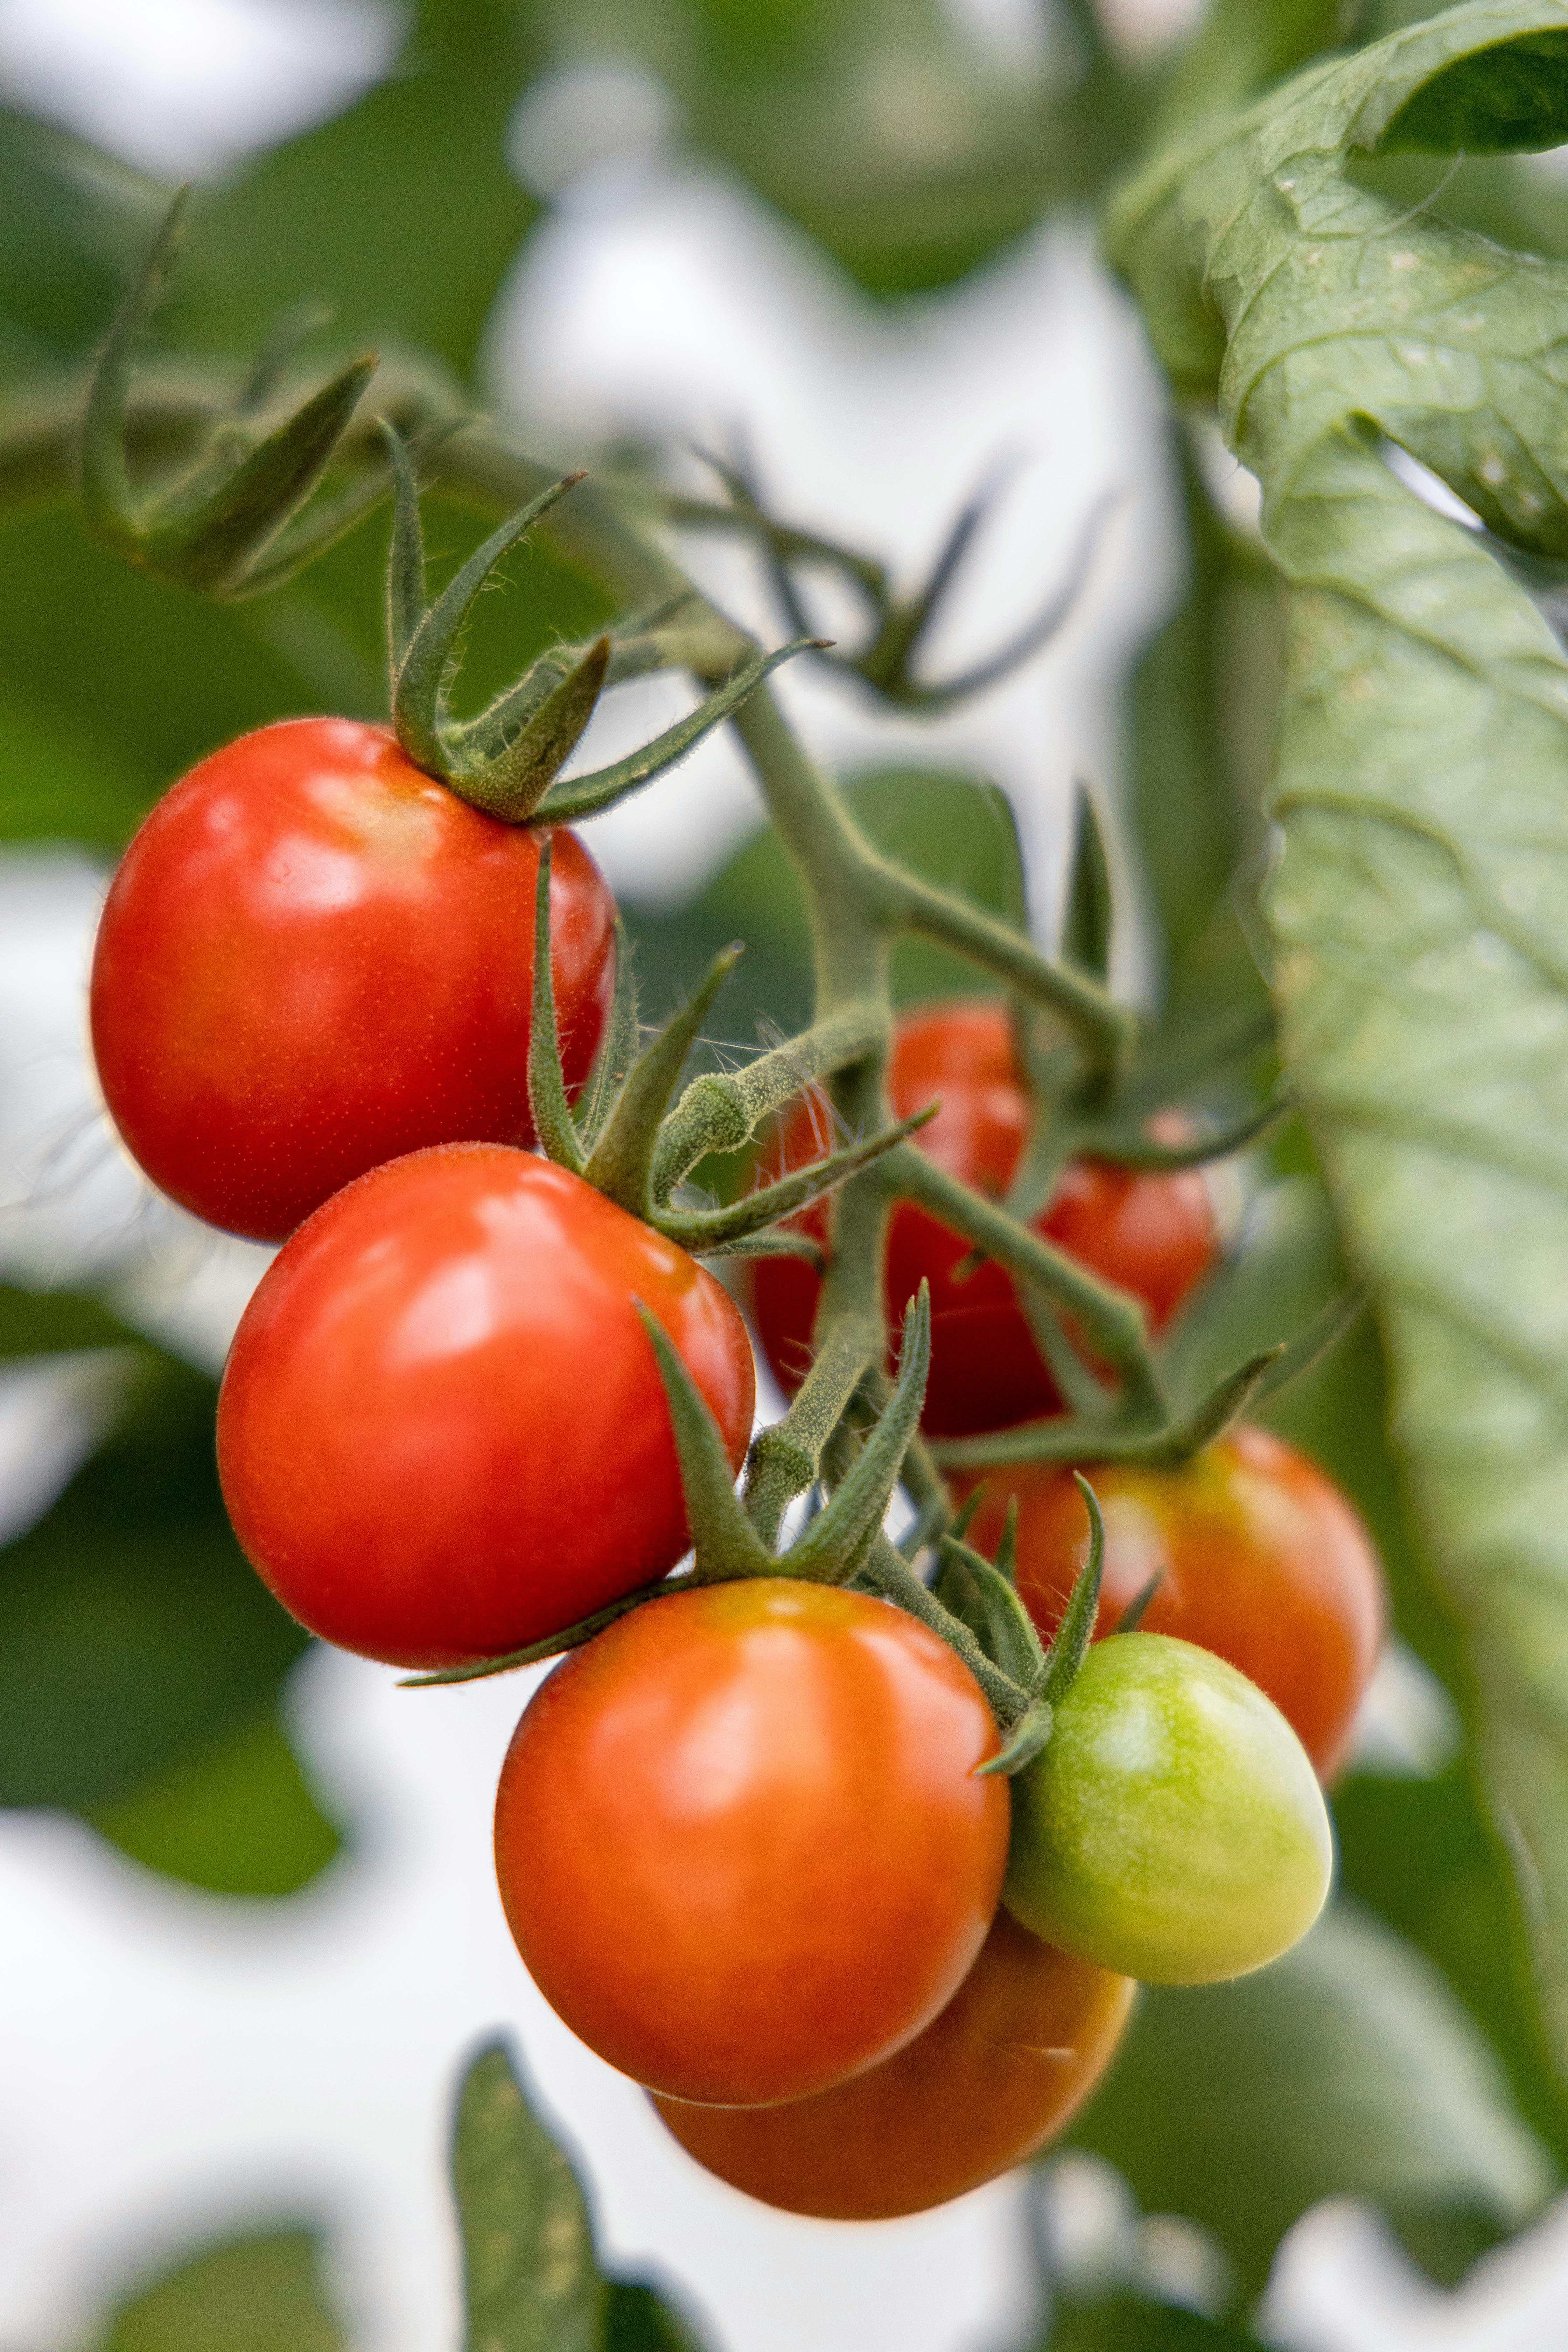
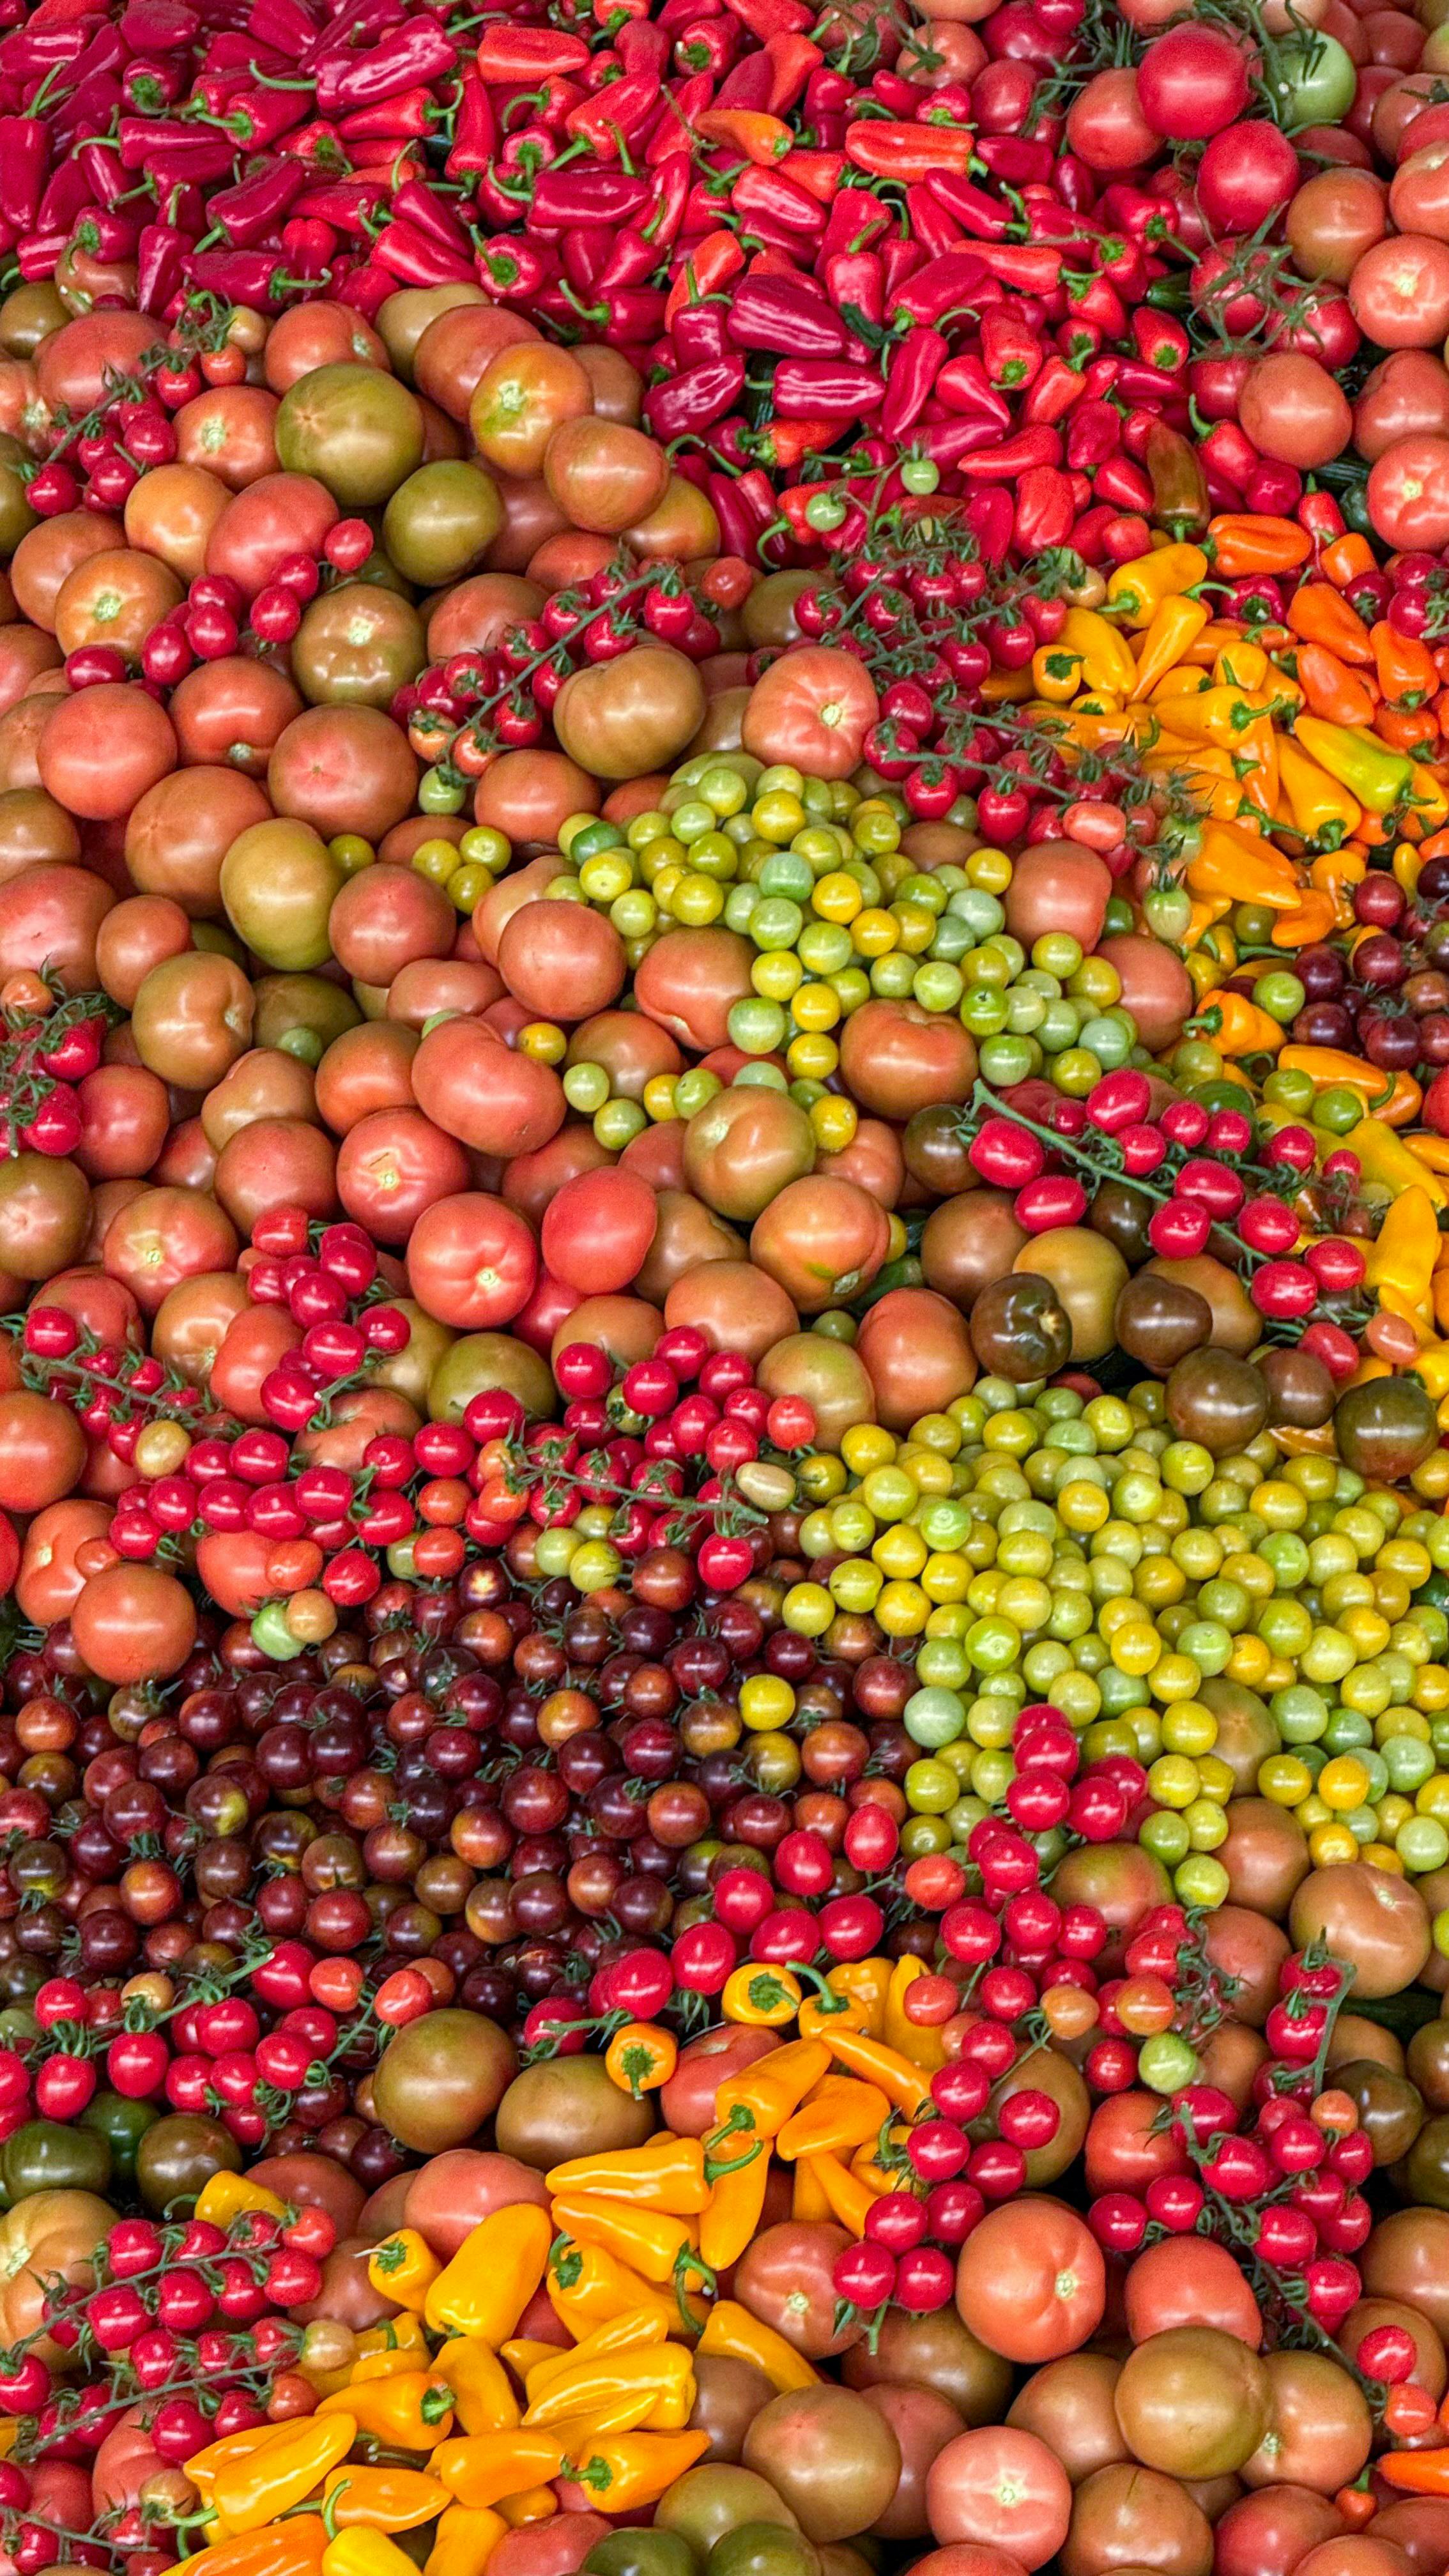
Nothing compares to the taste of a sun-warmed tomato fresh from your garden. The sweet, complex flavor of homegrown tomatoes bears little resemblance to the pale, mealy fruits found in supermarkets during winter. Growing your own tomatoes opens up a world of varieties—purple, striped, yellow, and pink tomatoes in shapes ranging from tiny cherries to huge beefsteaks.
Tomatoes are the most popular vegetable grown in American home gardens, and for good reason. They're productive, relatively easy to grow, and incredibly versatile in the kitchen. Whether you have a large backyard or just a sunny balcony, you can grow delicious tomatoes.
This comprehensive guide will take you through every step of tomato growing, from choosing varieties to harvesting your first ripe fruits. By the end, you'll have the knowledge and confidence to grow the best tomatoes of your life.
Understanding Tomato Types
Before ordering seeds or buying plants, it's essential to understand the main categories of tomatoes. This knowledge will help you select the right varieties for your space and needs.
Determinate vs. Indeterminate
This is the most important distinction when choosing tomatoes. It determines how the plant grows and when you'll harvest.
Determinate (Bush)
Growth: Compact, 3-4 feet tall
Fruiting: All fruit within 2-3 weeks
Best for: Containers, small spaces, sauce making
Examples: Roma, Celebrity, Bush Early Girl
Indeterminate (Vining)
Growth: 6-12+ feet, needs staking
Fruiting: Continuous until frost
Best for: Fresh eating, long season
Examples: Brandywine, Cherokee Purple, Sun Gold
Determinate (Bush) Tomatoes: These plants grow to a compact height (usually 3-4 feet) and produce all their fruit within a few weeks. They need less staking and are perfect for containers and short-season gardens. If you want to make sauce or can tomatoes, determinate varieties give you a concentrated harvest.
Indeterminate (Vining) Tomatoes: These continue growing and producing until killed by frost. They can reach 6-12 feet or more and need sturdy support like cages or trellises. They produce over a long season for steady harvest, making them ideal for fresh eating throughout summer.
Tomato Size Categories
| Type | Size | Best Uses | Popular Varieties |
|---|---|---|---|
| Cherry/Grape | 1-2 inches | Snacking, salads, roasting | Sun Gold, Sweet 100, Black Cherry |
| Saladette/Plum | 2-3 inches | Sauces, canning, drying | Roma, San Marzano, Amish Paste |
| Slicing | 3-4 inches | Sandwiches, salads, fresh eating | Better Boy, Early Girl, Celebrity |
| Beefsteak | 4-6+ inches | Burgers, thick slices,展示 | Brandywine, Cherokee Purple, Big Boy |
Selecting the Right Varieties
With thousands of tomato varieties available, choosing can be overwhelming. Consider these factors to narrow down your options:
Your Climate
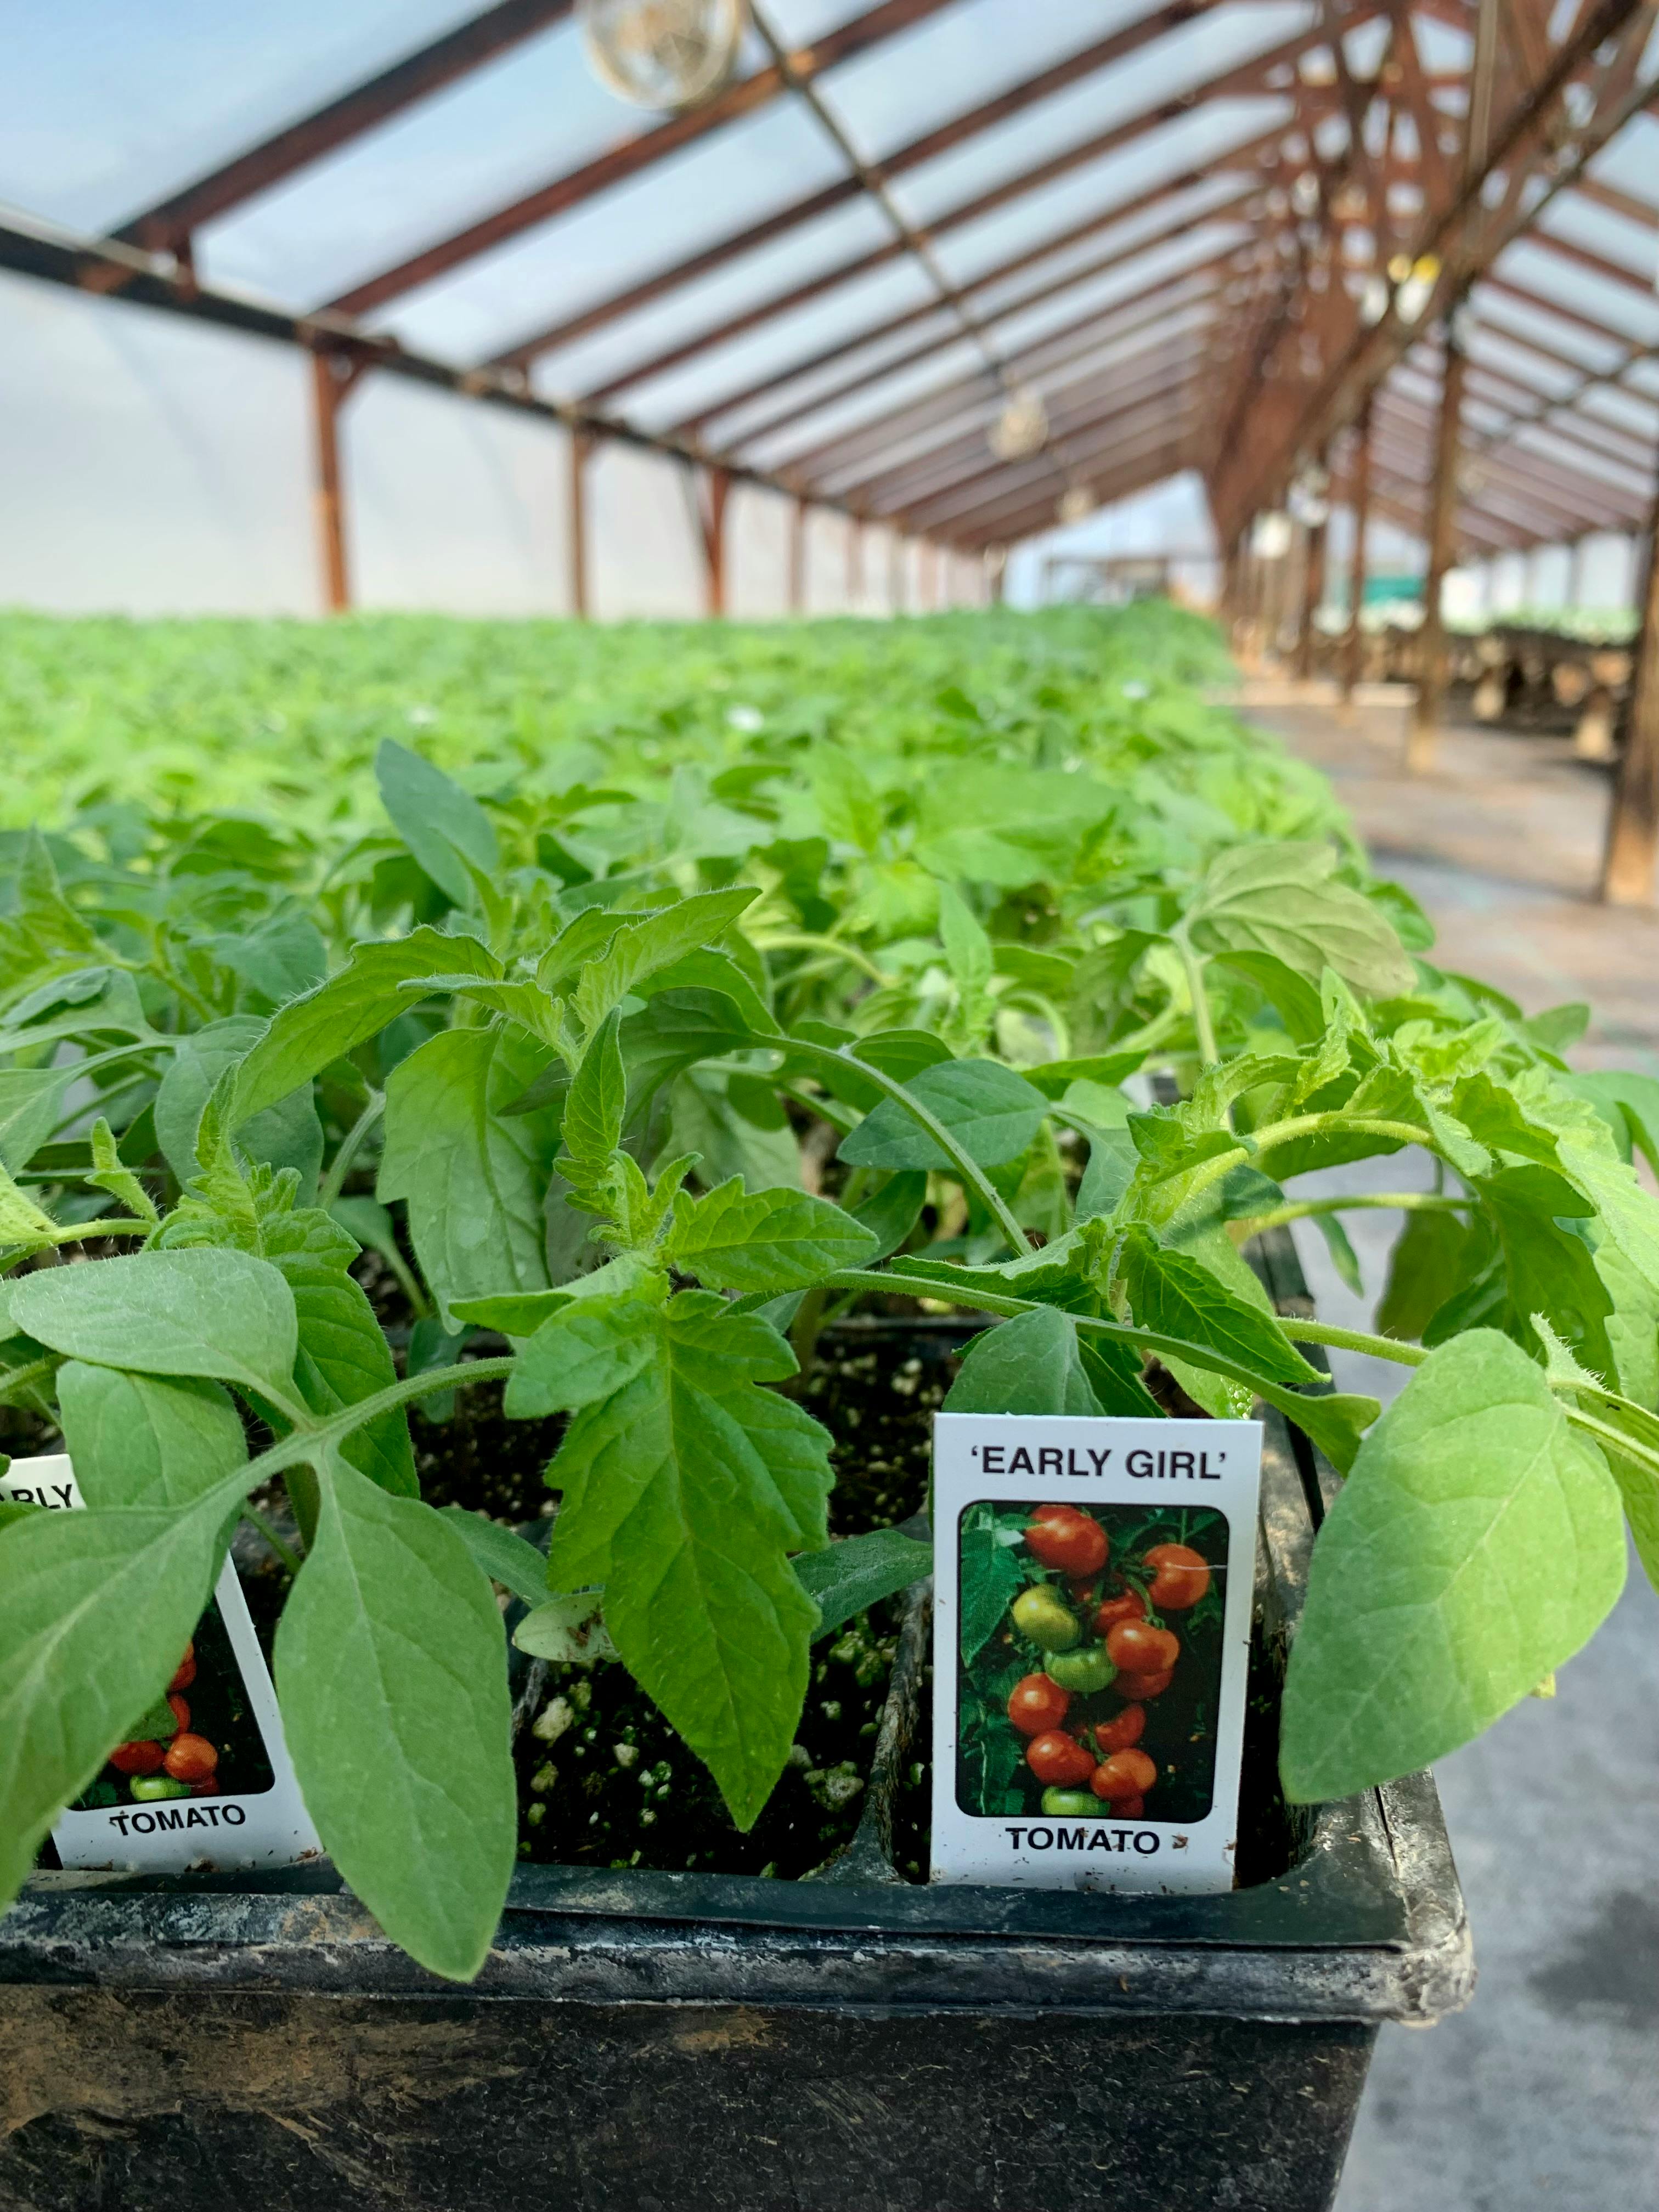
- Short summers (less than 70 days frost-free): Choose early-maturing varieties like 'Early Girl', 'Stupice', or 'Sub-Arctic Plenty'
- Hot, humid regions: Look for heat-set varieties and disease resistance like 'Heatmaster', 'Solar Fire', or 'Phoenix'
- Cool coastal areas: Select cold-tolerant varieties like 'Oregon Spring' or 'Glacier'
- Long, hot summers: You can grow almost anything, including late-maturing heirlooms
Disease Resistance
Look for letters after variety names indicating disease resistance. These are bred-in traits that help plants resist common tomato diseases:
- V: Verticillium wilt resistance
- F: Fusarium wilt resistance (F1, F2 for different races)
- N: Nematode resistance
- T: Tobacco mosaic virus resistance
- A: Alternaria resistance
- St: Stemphylium (gray leaf spot) resistance
Beginner's Tip
If you're new to tomato growing, start with these 5 reliable varieties:
- 'Sun Gold' - Unbeatable sweet cherry tomato, incredibly productive
- 'Celebrity' - Reliable, disease-resistant, good flavor
- 'Better Boy' - Classic slicing tomato, heavy producer
- 'Roma' - Perfect for sauces, meaty and productive
- 'Early Girl' - Produces early and continues all season
Starting Tomatoes from Seed
Growing from seed offers the widest variety selection and saves money. It's also incredibly satisfying to watch plants grow from tiny seeds.
When to Start Seeds
Count backwards from your last frost date. Most tomatoes need 6-8 weeks indoors before transplanting. In cold climates, start seeds 6-8 weeks before last frost. In warm climates with long growing seasons, you can start later or even direct sow.
| Last Frost Date | Start Seeds Indoors | Transplant Outdoors |
|---|---|---|
| April 15 | February 15 - March 1 | April 22 - May 1 |
| May 1 | March 1 - March 15 | May 8 - May 15 |
| May 15 | March 15 - April 1 | May 22 - June 1 |
| June 1 | April 1 - April 15 | June 8 - June 15 |
Seed Starting Supplies
- Seed starting mix: Light, sterile, and well-draining (not garden soil)
- Containers: Cell packs, peat pots, or recycled containers with drainage holes
- Grow lights: Fluorescent or LED shop lights work well
- Heat mat: Optional but helpful for germination (keeps soil at 75-80°F)
- Fan: Provides air circulation to prevent damping off disease
- Spray bottle: For gentle watering
Planting Seeds
- Moisten seed starting mix before filling containers
- Fill containers and gently firm the mix
- Plant seeds ¼ inch deep (about twice the seed's diameter)
- Cover lightly with mix
- Water gently with a spray bottle
- Cover with plastic dome or bag to maintain humidity
- Place in warm location (75-80°F ideal for germination)
Caring for Seedlings
Remove plastic cover once seedlings emerge (5-10 days). Move immediately to bright light—insufficient light causes leggy, weak seedlings. Keep lights 2-3 inches above plants and raise as they grow. Water when soil surface feels dry. Begin fertilizing with diluted organic fertilizer when true leaves appear.
Hardening Off
About 7-10 days before transplanting, gradually acclimate seedlings to outdoor conditions. Start with 1-2 hours in a protected location, gradually increasing time and sun exposure over a week. Bring indoors if frost threatens.
Critical: Hardening Off
Never skip hardening off! Seedlings started indoors will sunburn and die if planted directly outside without gradual acclimation. Even one hour of intense sun can damage tender leaves. Take this step seriously for healthy transplants.
Preparing the Garden
Choosing the Perfect Spot
Tomatoes need at least 6-8 hours of direct sunlight daily. More sun equals more fruit. Good air circulation reduces disease problems. Avoid planting near walnut trees, which produce juglone that can harm tomatoes.
Soil Preparation
Tomatoes prefer slightly acidic soil with pH between 6.2 and 6.8. Work plenty of organic matter into the planting area—compost, aged manure, or leaf mold. This improves drainage, adds nutrients, and supports healthy soil life.
Raised Beds vs. In-Ground
Both work well. Raised beds warm faster in spring, drain better, and allow soil improvement in a concentrated area. In-ground gardens work fine if soil is well-drained and amended. Containers are excellent for patios and small spaces.
Planting Tomatoes
Timing
Plant after all danger of frost has passed and soil has warmed to at least 60°F. Cold soil stunts growth and invites disease. In many regions, this means mid-May to early June. Use a soil thermometer to be sure.
Spacing
- Determinate varieties: 2-3 feet apart
- Indeterminate varieties: 3-4 feet apart
- Rows: 4-5 feet apart for easy access
Planting Depth
Tomatoes are unique in their ability to form roots along their stems. This is called adventitious rooting. Plant deeply—remove lower leaves and bury the stem up to the top few sets of leaves. This creates a strong root system for better nutrient uptake and drought tolerance.
Planting Techniques
- Dig holes deep enough to accommodate the buried stem (6-8 inches deep)
- Add compost or organic fertilizer to each hole
- Remove plant from container, gently loosen roots if pot-bound
- Remove lower leaves, leaving top 3-4 sets
- Place in hole and backfill with soil
- Water thoroughly to settle soil
- Install supports immediately to avoid root damage later
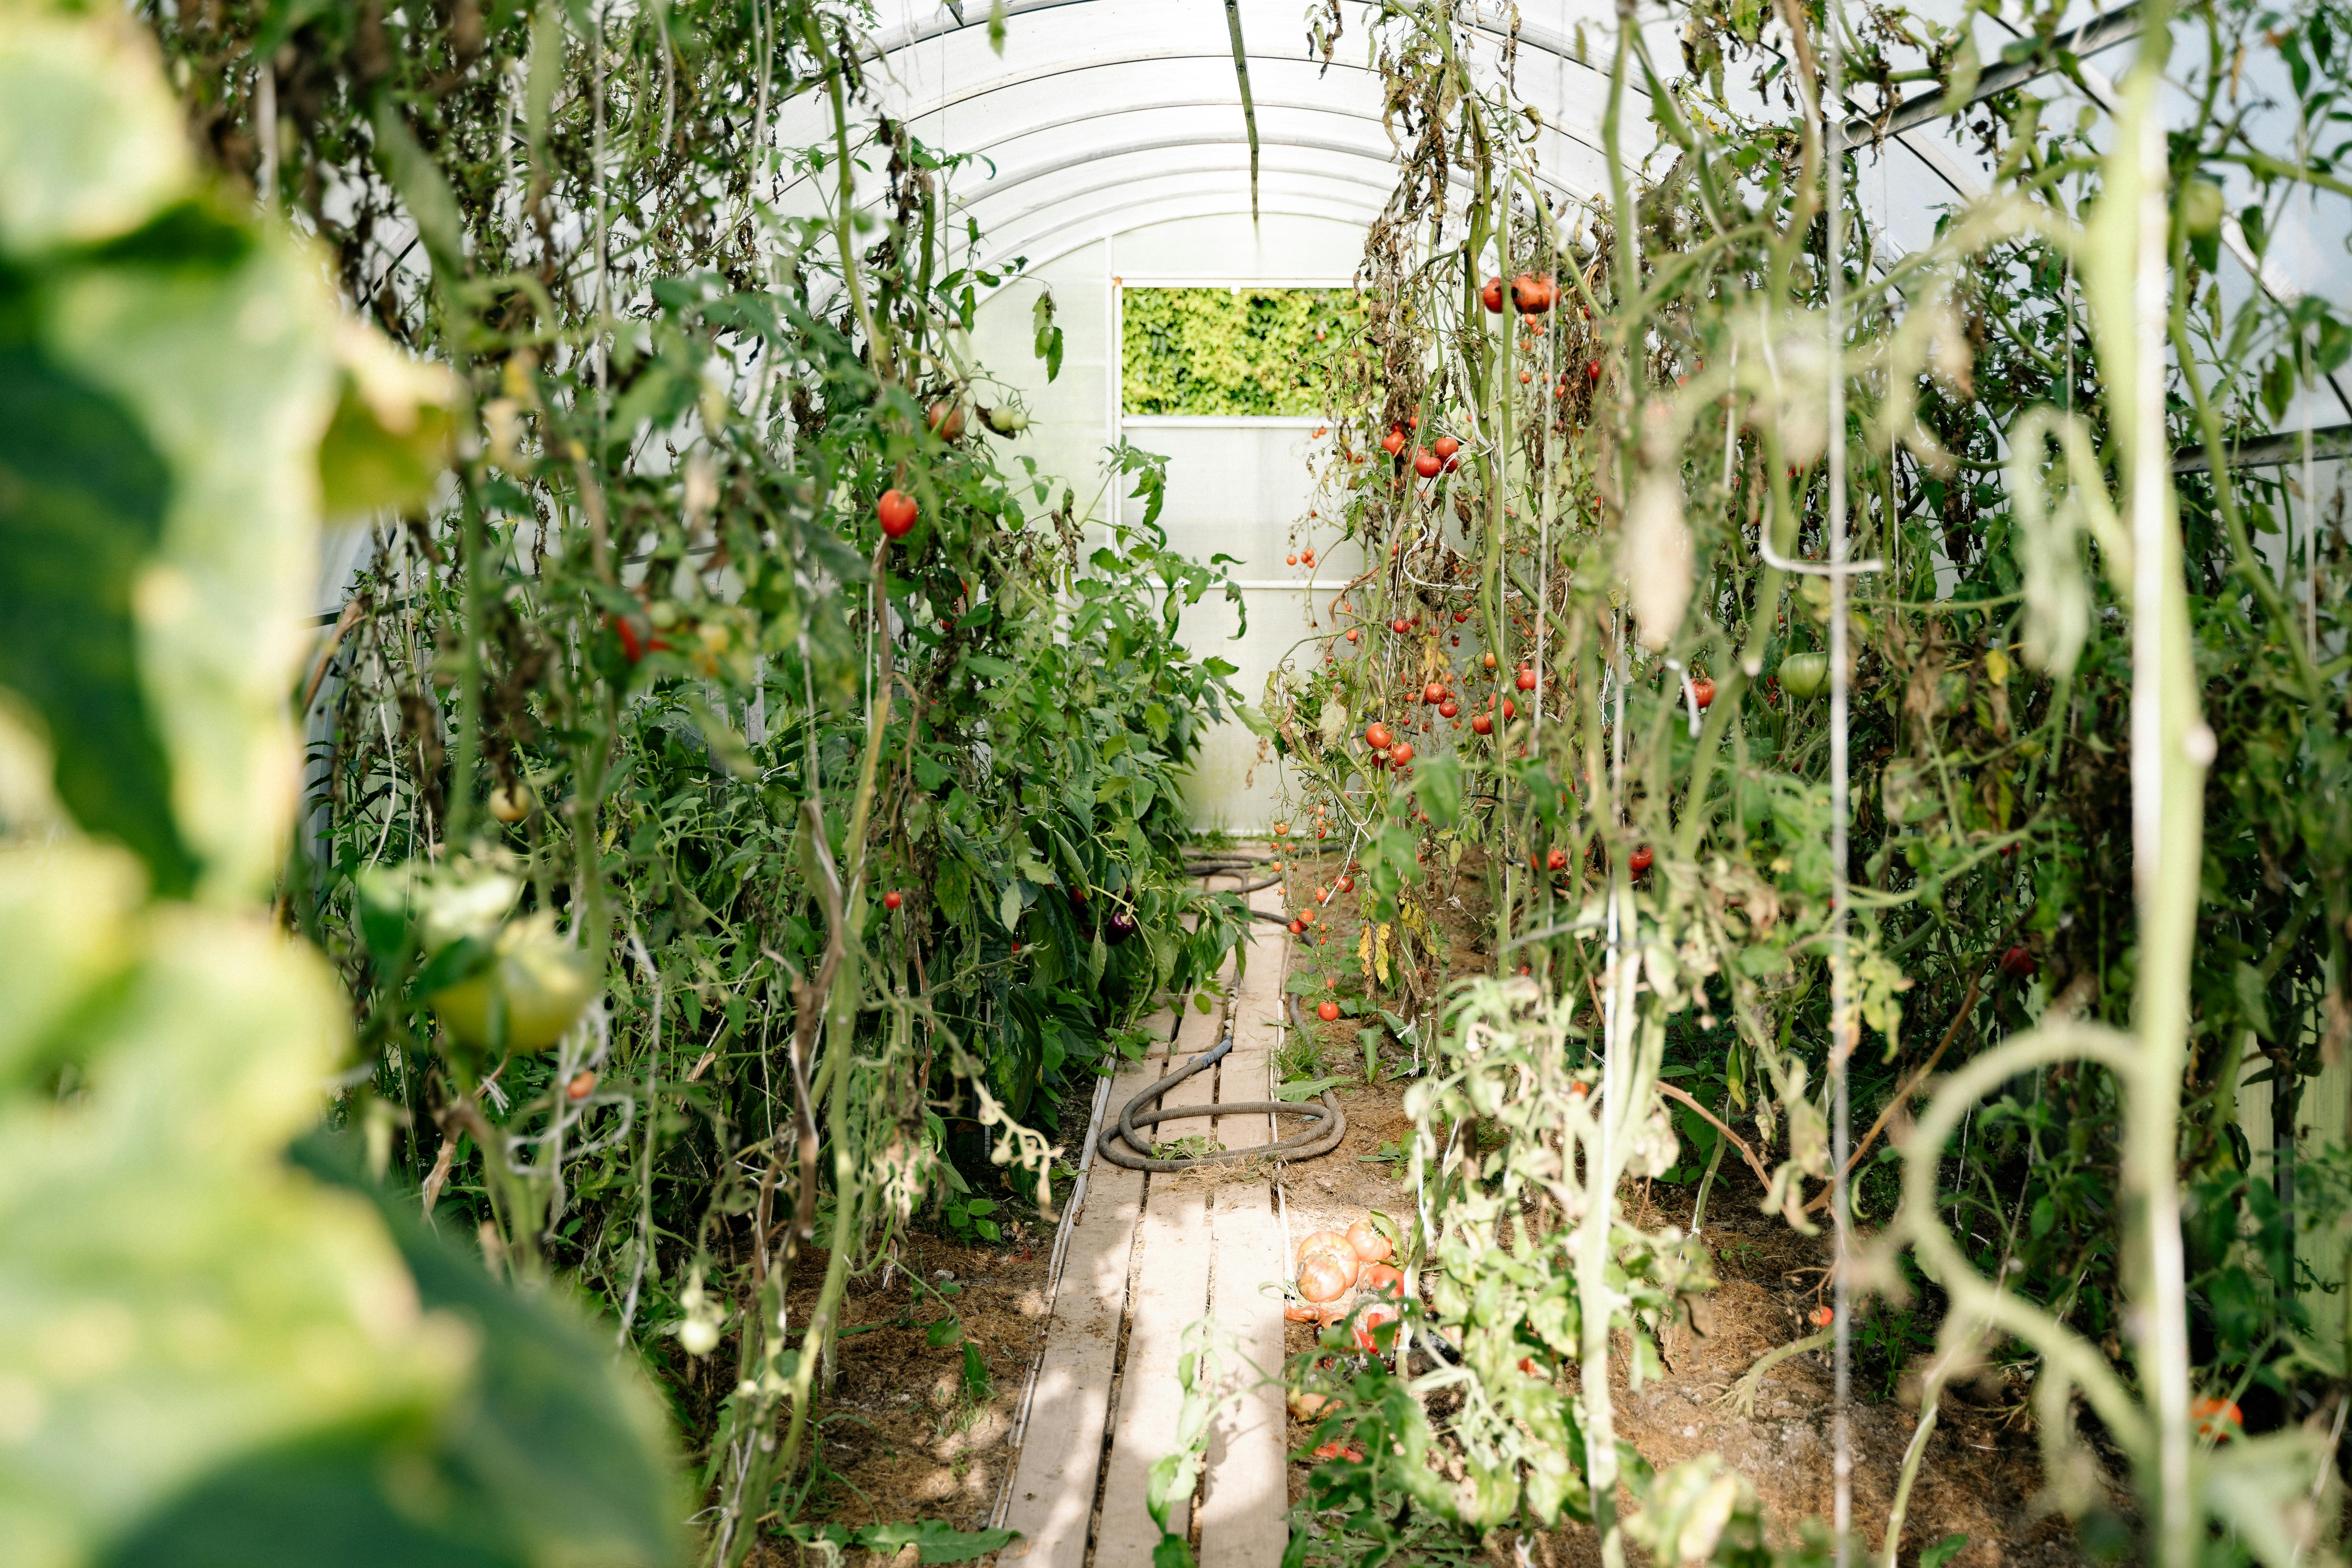
The String Method for Indeterminate Tomatoes
One of the most effective space-saving methods for growing tomatoes is the string method, perfect for indeterminate varieties in greenhouses or small gardens.
This method improves air circulation, prevents diseases, and maximizes space in small gardens. It keeps foliage drier and healthier while allowing better sun exposure for ripening.
Support Systems
Install supports at planting time to avoid damaging roots later.
- Cages: Wire cages work well for determinate varieties and smaller indeterminates. Choose sturdy cages—cheap ones collapse under heavy plants. Tomato cages should be at least 4-5 feet tall.
- Stakes: Drive sturdy 6-8 foot stakes 12 inches into ground near each plant. Tie stems to stake as plants grow using soft twine or cloth strips.
- Trellises: String trellises work beautifully for indeterminates. Run strong twine from ground to overhead support.
- Florida Weave: Perfect for rows of tomatoes. Run twine between stakes on either side of plants, creating a woven support system.
Watering Tomatoes Correctly
Consistent watering is crucial for tomatoes. Fluctuations cause problems like blossom end rot and cracking.
How Much Water
Tomatoes need about 1-1.5 inches of water per week from rain or irrigation. During hot, dry spells, they may need more. Sandy soils need more frequent watering than clay soils. Container tomatoes may need daily watering in summer heat.
| Plant Stage | Water Needs | Notes |
|---|---|---|
| Seedlings | Keep evenly moist | Don't let dry out completely |
| After transplant | Water daily for first week | Helps roots establish |
| Growing phase | 1-1.5 inches/week | Water deeply twice weekly |
| Fruiting | Consistent moisture | Most critical period |
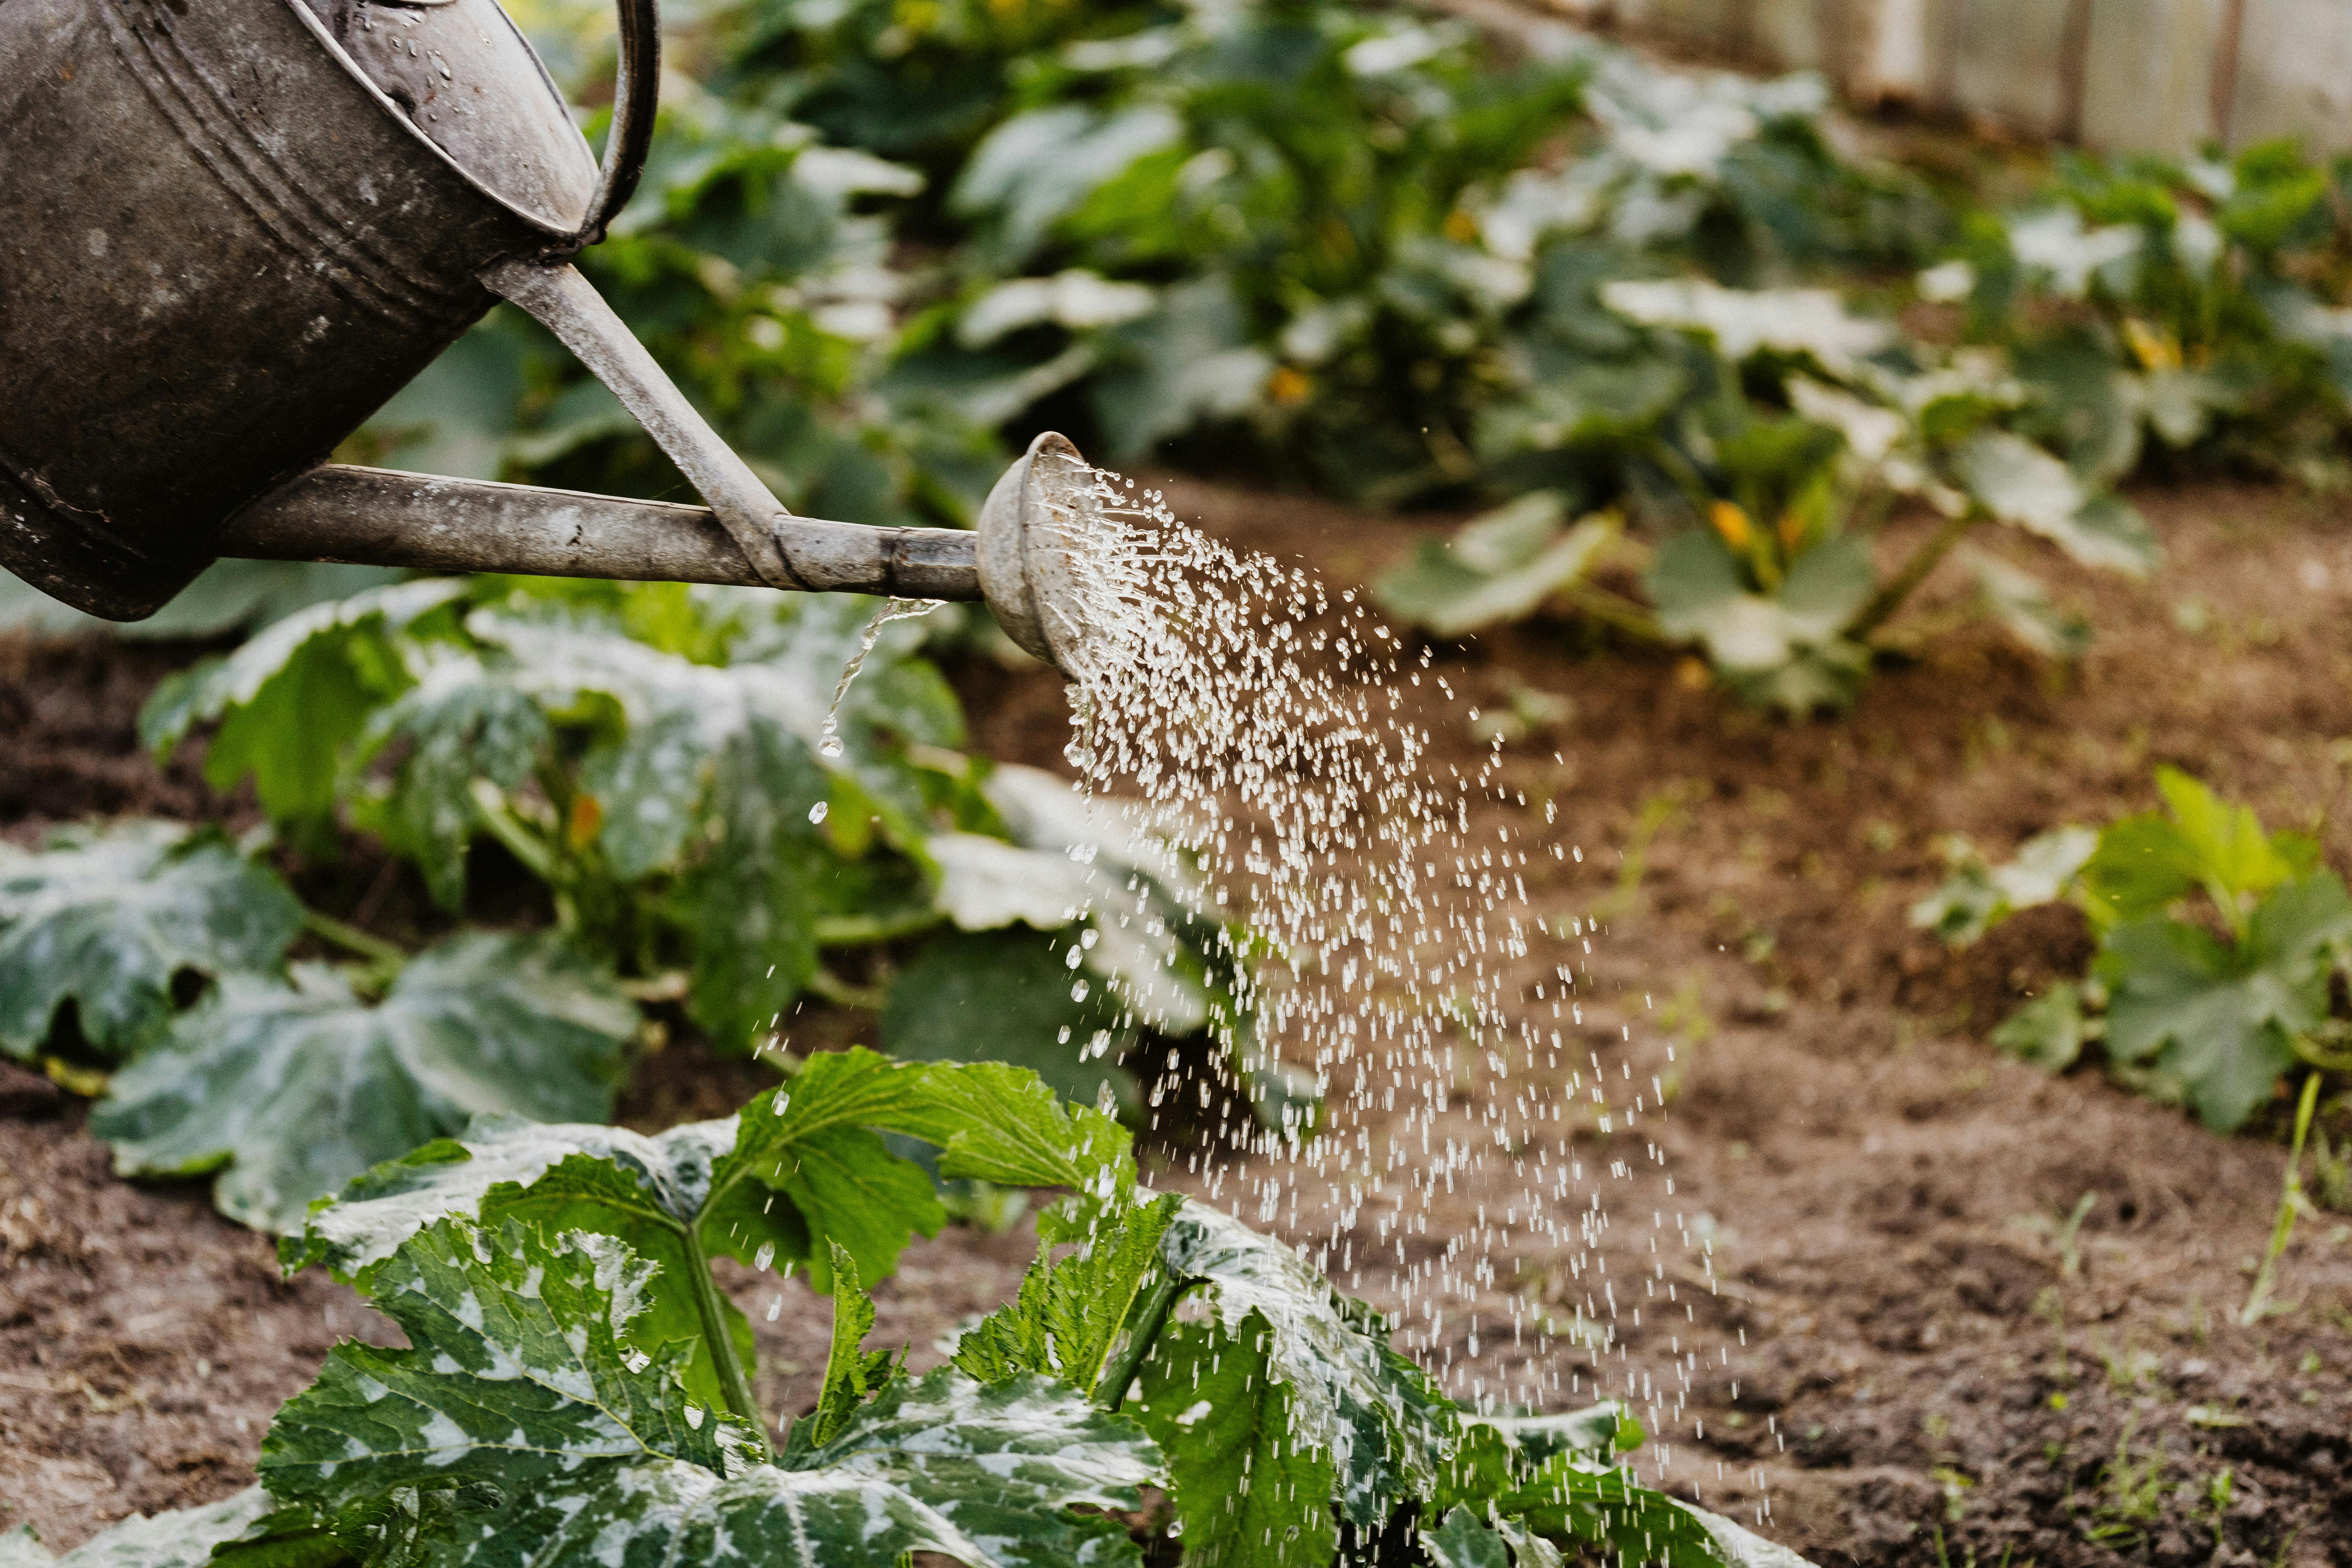
Watering Best Practices
- Water deeply and less frequently: This encourages deep roots, making plants more drought-tolerant
- Water at soil level: Avoid wetting foliage to prevent fungal diseases
- Use soaker hoses or drip irrigation: Delivers water directly to roots efficiently
- Water in morning: Plants have all day to dry before night
- Mulch heavily: 2-4 inches of organic mulch conserves moisture and regulates soil temperature
Recognizing Water Stress
Wilting during afternoon heat is normal if plants recover by morning. If they're still wilted in morning, water immediately. Blossom drop and poor fruit set often indicate water stress. Cracked fruits usually result from uneven watering.
Fertilizing for Maximum Production
Nutrient Needs
- Nitrogen (N): Promotes leafy growth (but too much reduces fruiting)
- Phosphorus (P): Essential for root development and fruit set
- Potassium (K): Important for overall health and disease resistance
- Calcium: Prevents blossom end rot
- Magnesium: Essential for photosynthesis
Organic Fertilizer Options
- Compost: Apply as side dressing throughout season
- Fish emulsion: Fast-acting nitrogen source, good for early growth
- Bone meal: High phosphorus for flowering and fruiting
- Kelp meal: Provides trace minerals and growth hormones
- Worm castings: Gentle, balanced nutrition
- Compost tea: Beneficial microorganisms plus nutrients
Fertilizing Schedule
- At Planting: Mix compost and organic fertilizer into planting hole
- 3-4 Weeks After Planting: Side-dress with balanced organic fertilizer
- When Fruits Set: Switch to lower-nitrogen, higher-phosphorus fertilizer
- Every 3-4 Weeks: Continue feeding through growing season
- Stop fertilizing 2-3 weeks before first frost
Epsom Salt Trick
Dissolve 1 tablespoon of Epsom salts in 1 gallon of water and spray on plants when they begin blooming and again when fruits are forming. The magnesium and sulfur boost fruit production and prevent yellowing leaves. Don't overdo it—once a month is plenty.
Pruning and Training
Understanding Suckers
Suckers are shoots that grow in the axils between the main stem and branches. Left unpruned, they become additional stems, creating a bushier plant with many but smaller fruits.
Pruning Methods for Indeterminate Tomatoes
- Single Stem: Remove all suckers, train one main stem up support. Produces largest fruits but fewer total. Best for greenhouses and high-density planting.
- Modified Leader: Allow 2-3 main stems, remove others. Good balance of size and quantity. Most common home garden method.
- Minimal Pruning: Remove only suckers below first flower cluster. Let plant grow naturally. Produces many medium-sized fruits.
For Determinate Tomatoes
Minimal pruning is needed. Remove only suckers below the first flower cluster. Heavy pruning reduces yield on determinate varieties.
Removing Lower Leaves
As plants grow, remove leaves touching the soil to reduce disease splash-up. Also remove yellowing or diseased leaves promptly. This improves air circulation and focuses energy on fruit production.
Managing Pests and Diseases
Common Tomato Diseases
Early Blight: Circular brown spots with concentric rings on lower leaves. Leaves yellow and die. Prevent with mulch, avoid wet foliage, and rotate crops. Remove affected leaves promptly. Copper fungicides can help in severe cases.
Late Blight: Dark, water-soaked spots on leaves and stems, spreading rapidly in cool, wet weather. This serious disease killed potato crops in the Irish famine. Remove infected plants immediately to prevent spread. There is no cure once established.
Septoria Leaf Spot: Small circular spots with dark borders and light centers. Starts on lower leaves and moves up. Remove affected leaves and improve air circulation. Avoid overhead watering.
Blossom End Rot: Dark, sunken area on blossom end of fruit. Caused by calcium deficiency usually from inconsistent watering. Maintain even soil moisture and mulch. Add calcium to soil if deficiency persists.
Common Tomato Pests
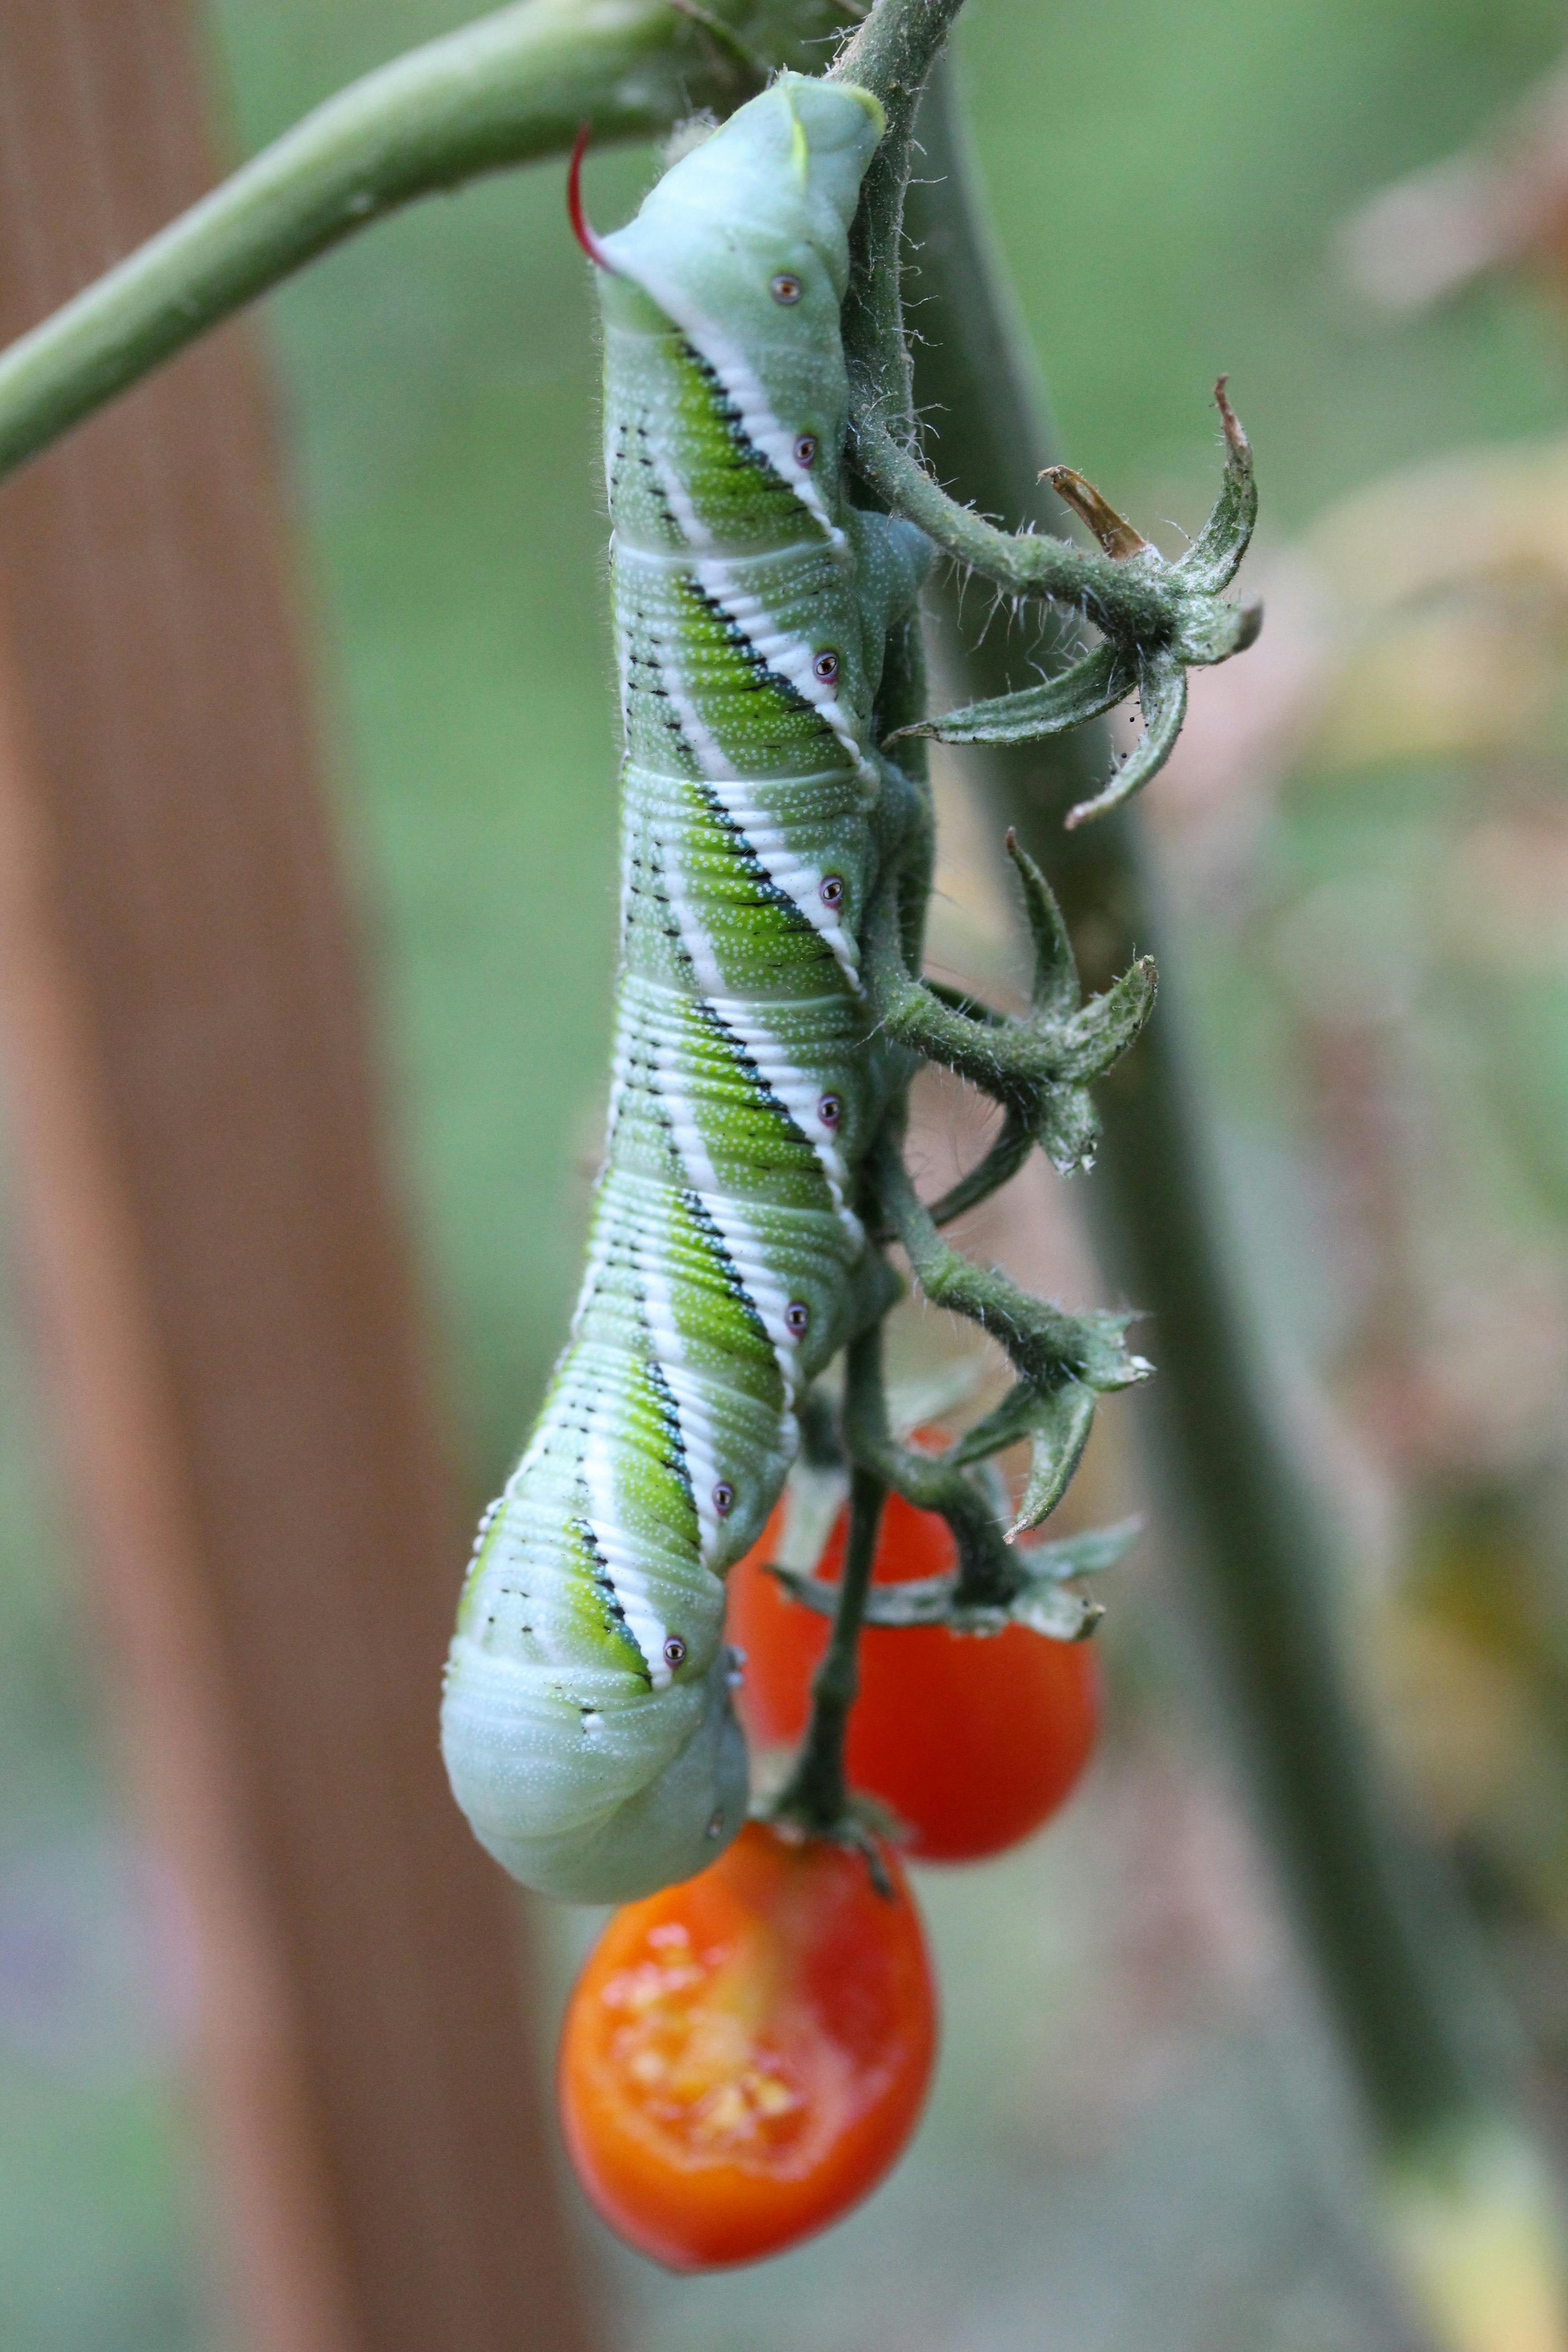
Hornworms: Huge green caterpillars that devour foliage quickly. They're hard to spot but easy to control by handpicking. Look for black droppings on leaves as a sign. They have a white horn on their rear.
Aphids: Small insects clustering on new growth. Blast off with water or treat with insecticidal soap. Encourage ladybugs and lacewings that eat them.
Whiteflies: Tiny white insects that fly up when plants are disturbed. Yellow sticky traps help monitor. Insecticidal soap or neem oil for severe infestations. Reflective mulch can deter them.
Cutworms: Caterpillars that cut off young seedlings at soil level. Protect with cardboard collars around stems at planting. Push collars 1 inch into soil.
Tomato Fruitworms: Also called corn earworms, they bore into fruits. Control with Bt (Bacillus thuringiensis) applied to small larvae. Remove and destroy affected fruits.
Organic Control Methods
- Healthy plants in healthy soil resist problems best
- Encourage beneficial insects with diverse plantings of flowers like dill, fennel, and yarrow
- Use row covers early in season to exclude pests
- Handpick larger pests
- Apply neem oil, insecticidal soap, or Bt as targeted treatments
- Rotate crops annually—don't plant tomatoes where peppers, eggplants, or potatoes grew last year
Harvesting and Storage
When to Harvest
- Color: Pick when fully colored for that variety (red, yellow, purple, etc.)
- Feel: Fruit should be slightly soft when gently squeezed
- Ease: Ripe tomatoes come off the vine with a gentle twist
- Taste: The best indicator—sample regularly!
| Variety Type | Harvest Indicator | Days to Maturity |
|---|---|---|
| Cherry tomatoes | Full color, slight softness | 55-70 days |
| Early varieties | Full color | 50-65 days |
| Main season | Full color, slight give | 70-85 days |
| Late/Heirlooms | Full color, soft feel | 80-100 days |
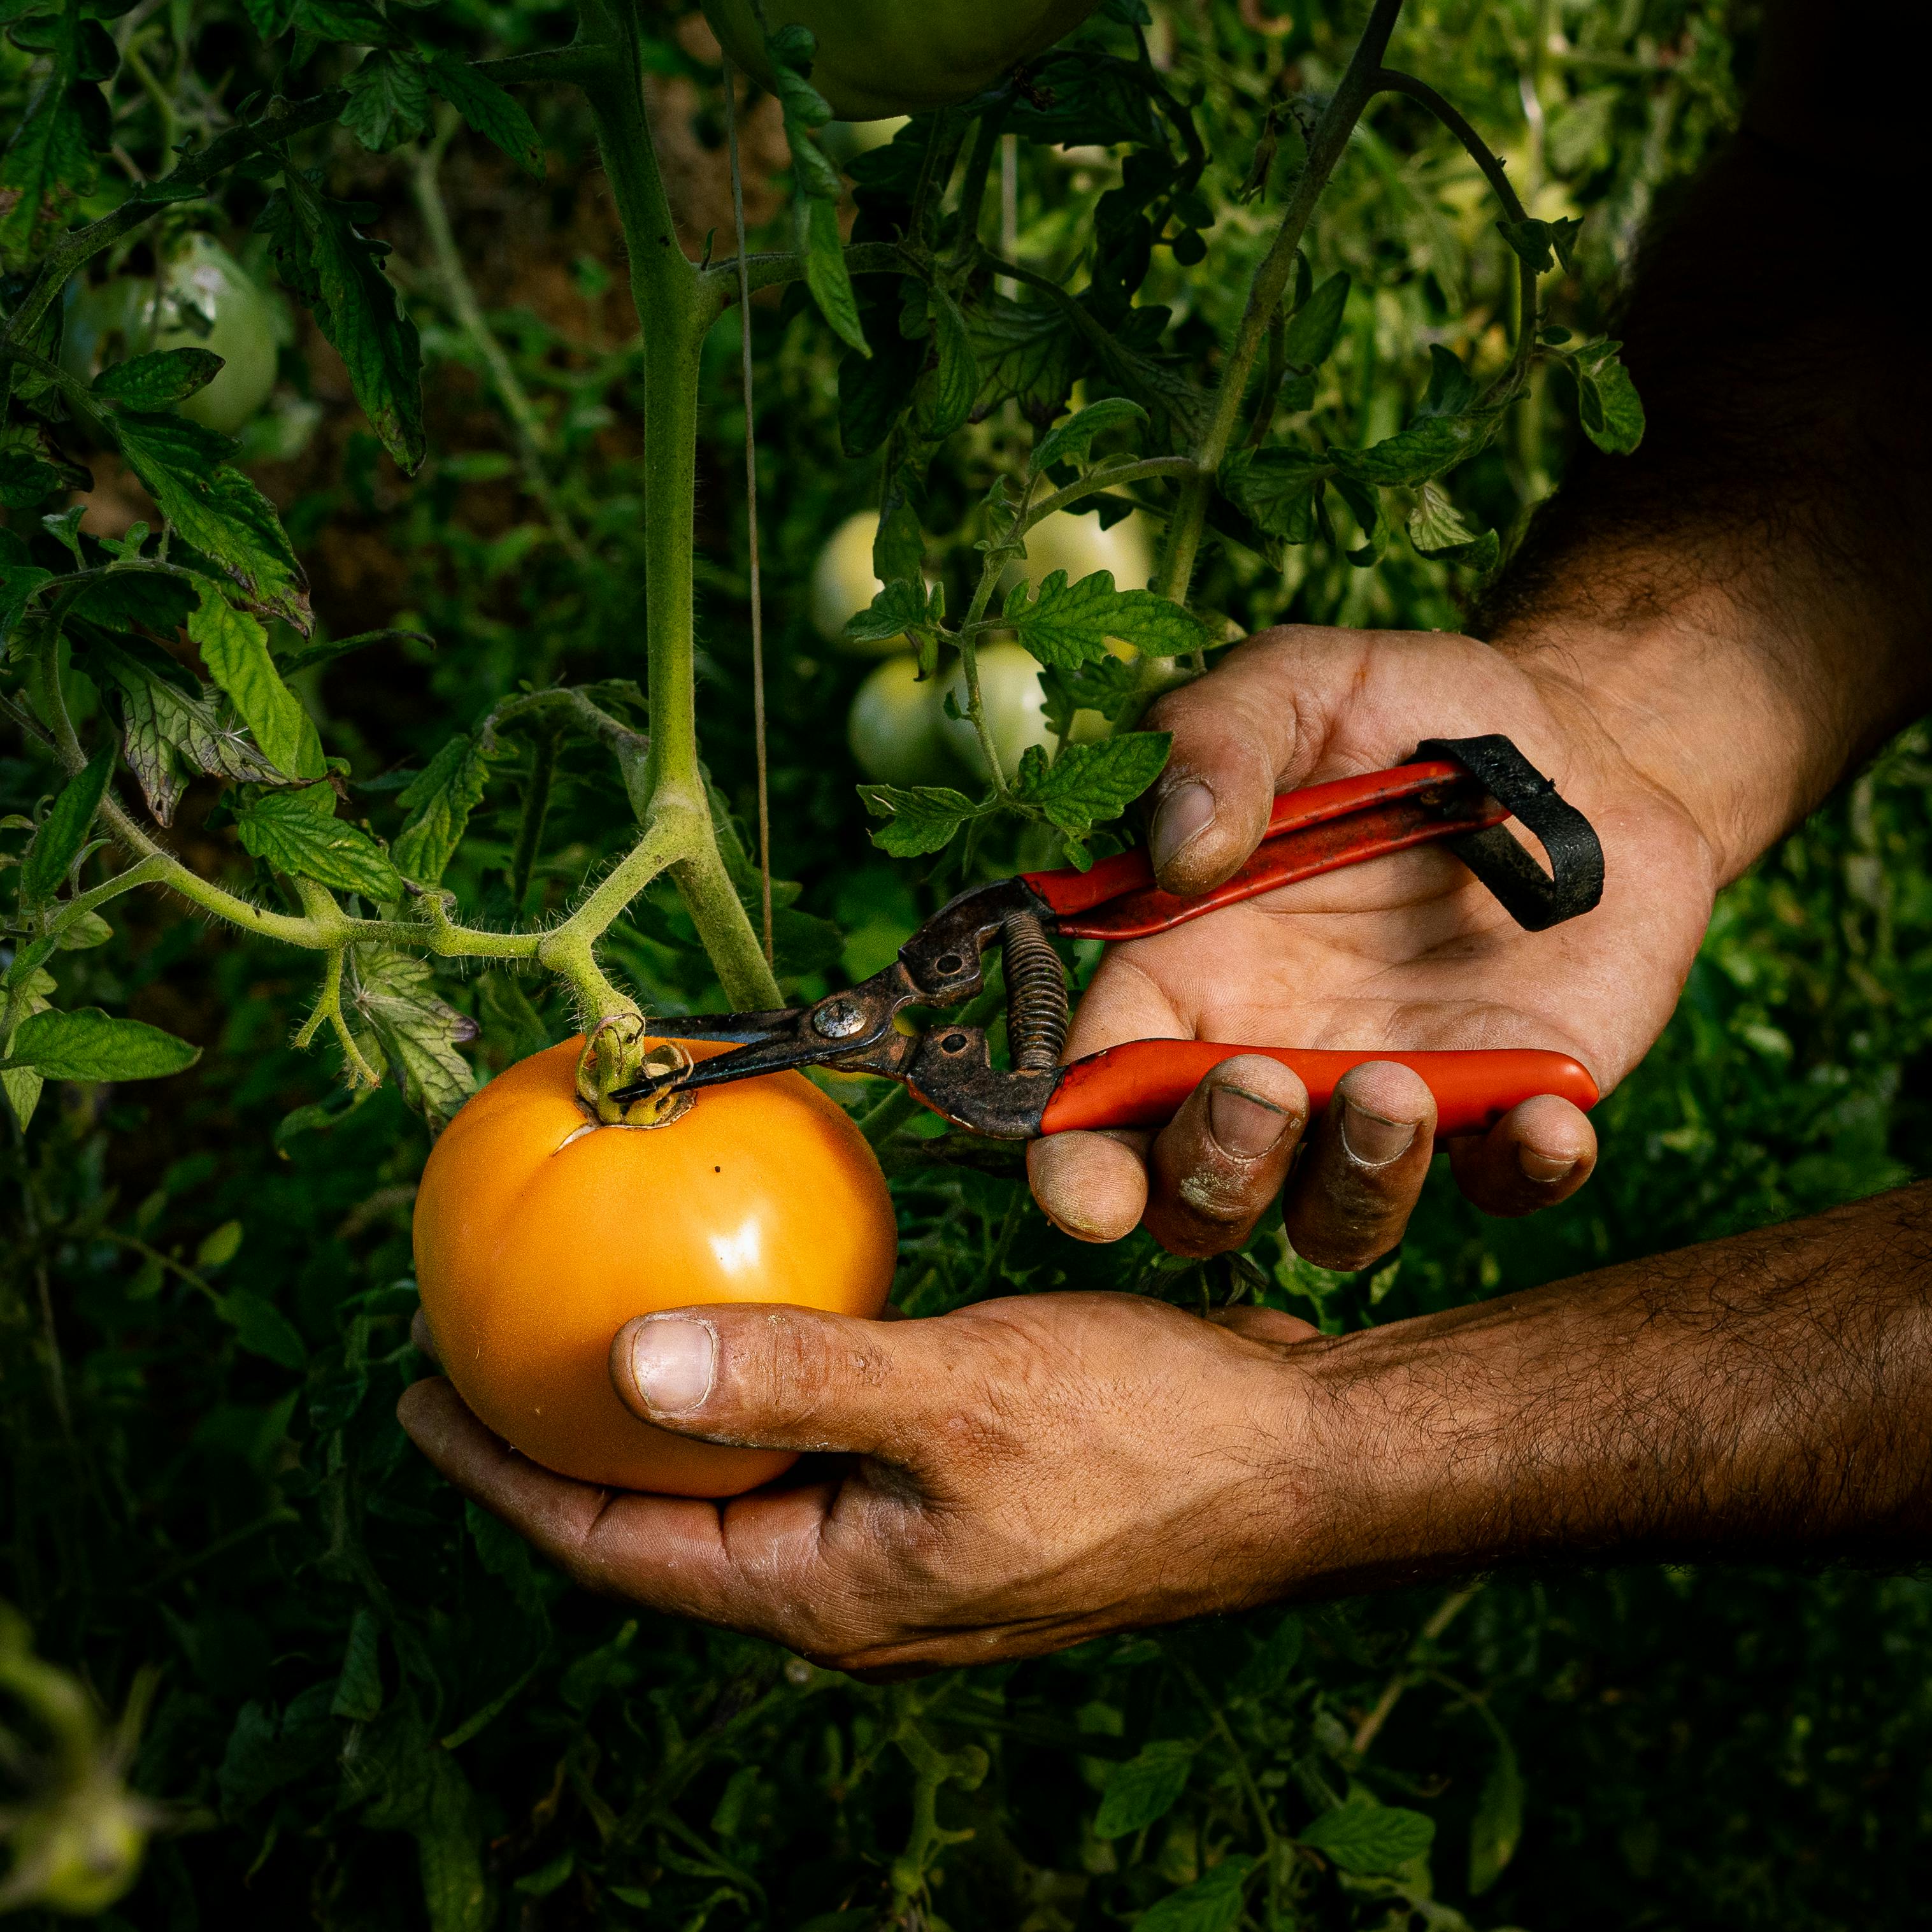
Harvesting Tips
- Harvest in the morning when fruits are cool and hydrated
- Use scissors or pruners to avoid damaging the plant
- Leave a small stem attached to prolong storage
- Harvest regularly to encourage more production
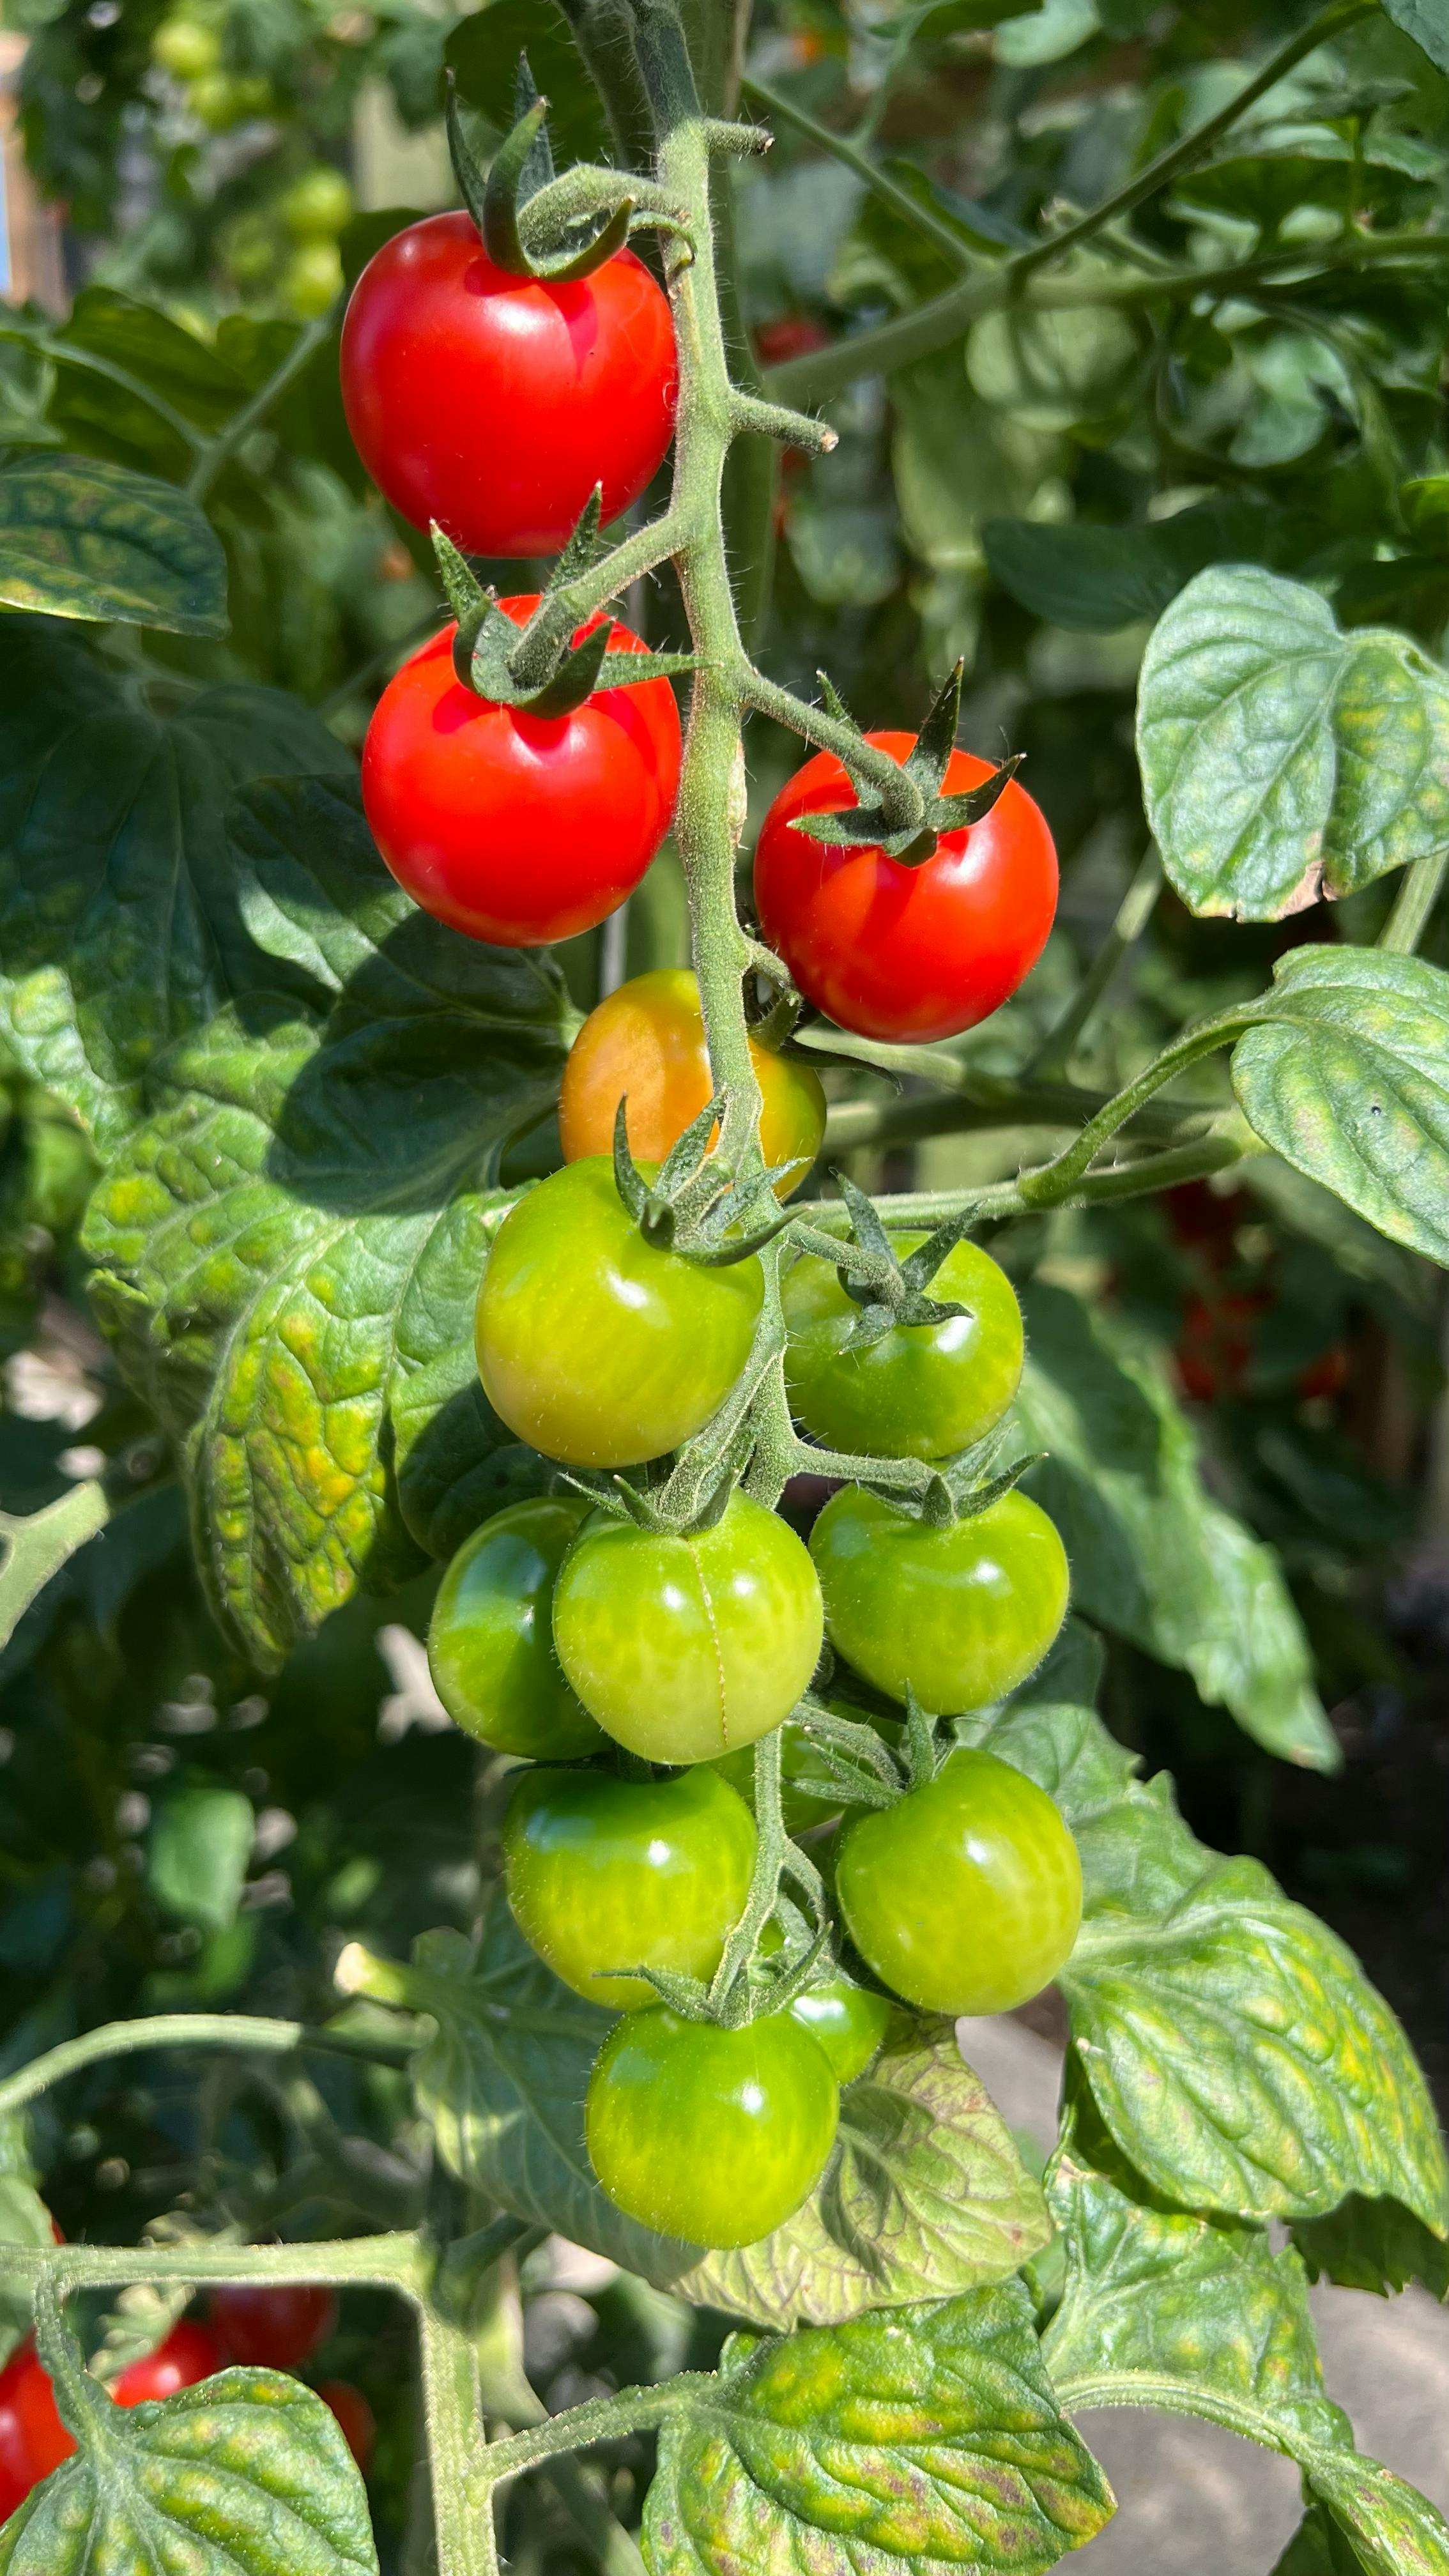
- Pick all tomatoes before first frost—green ones will ripen indoors
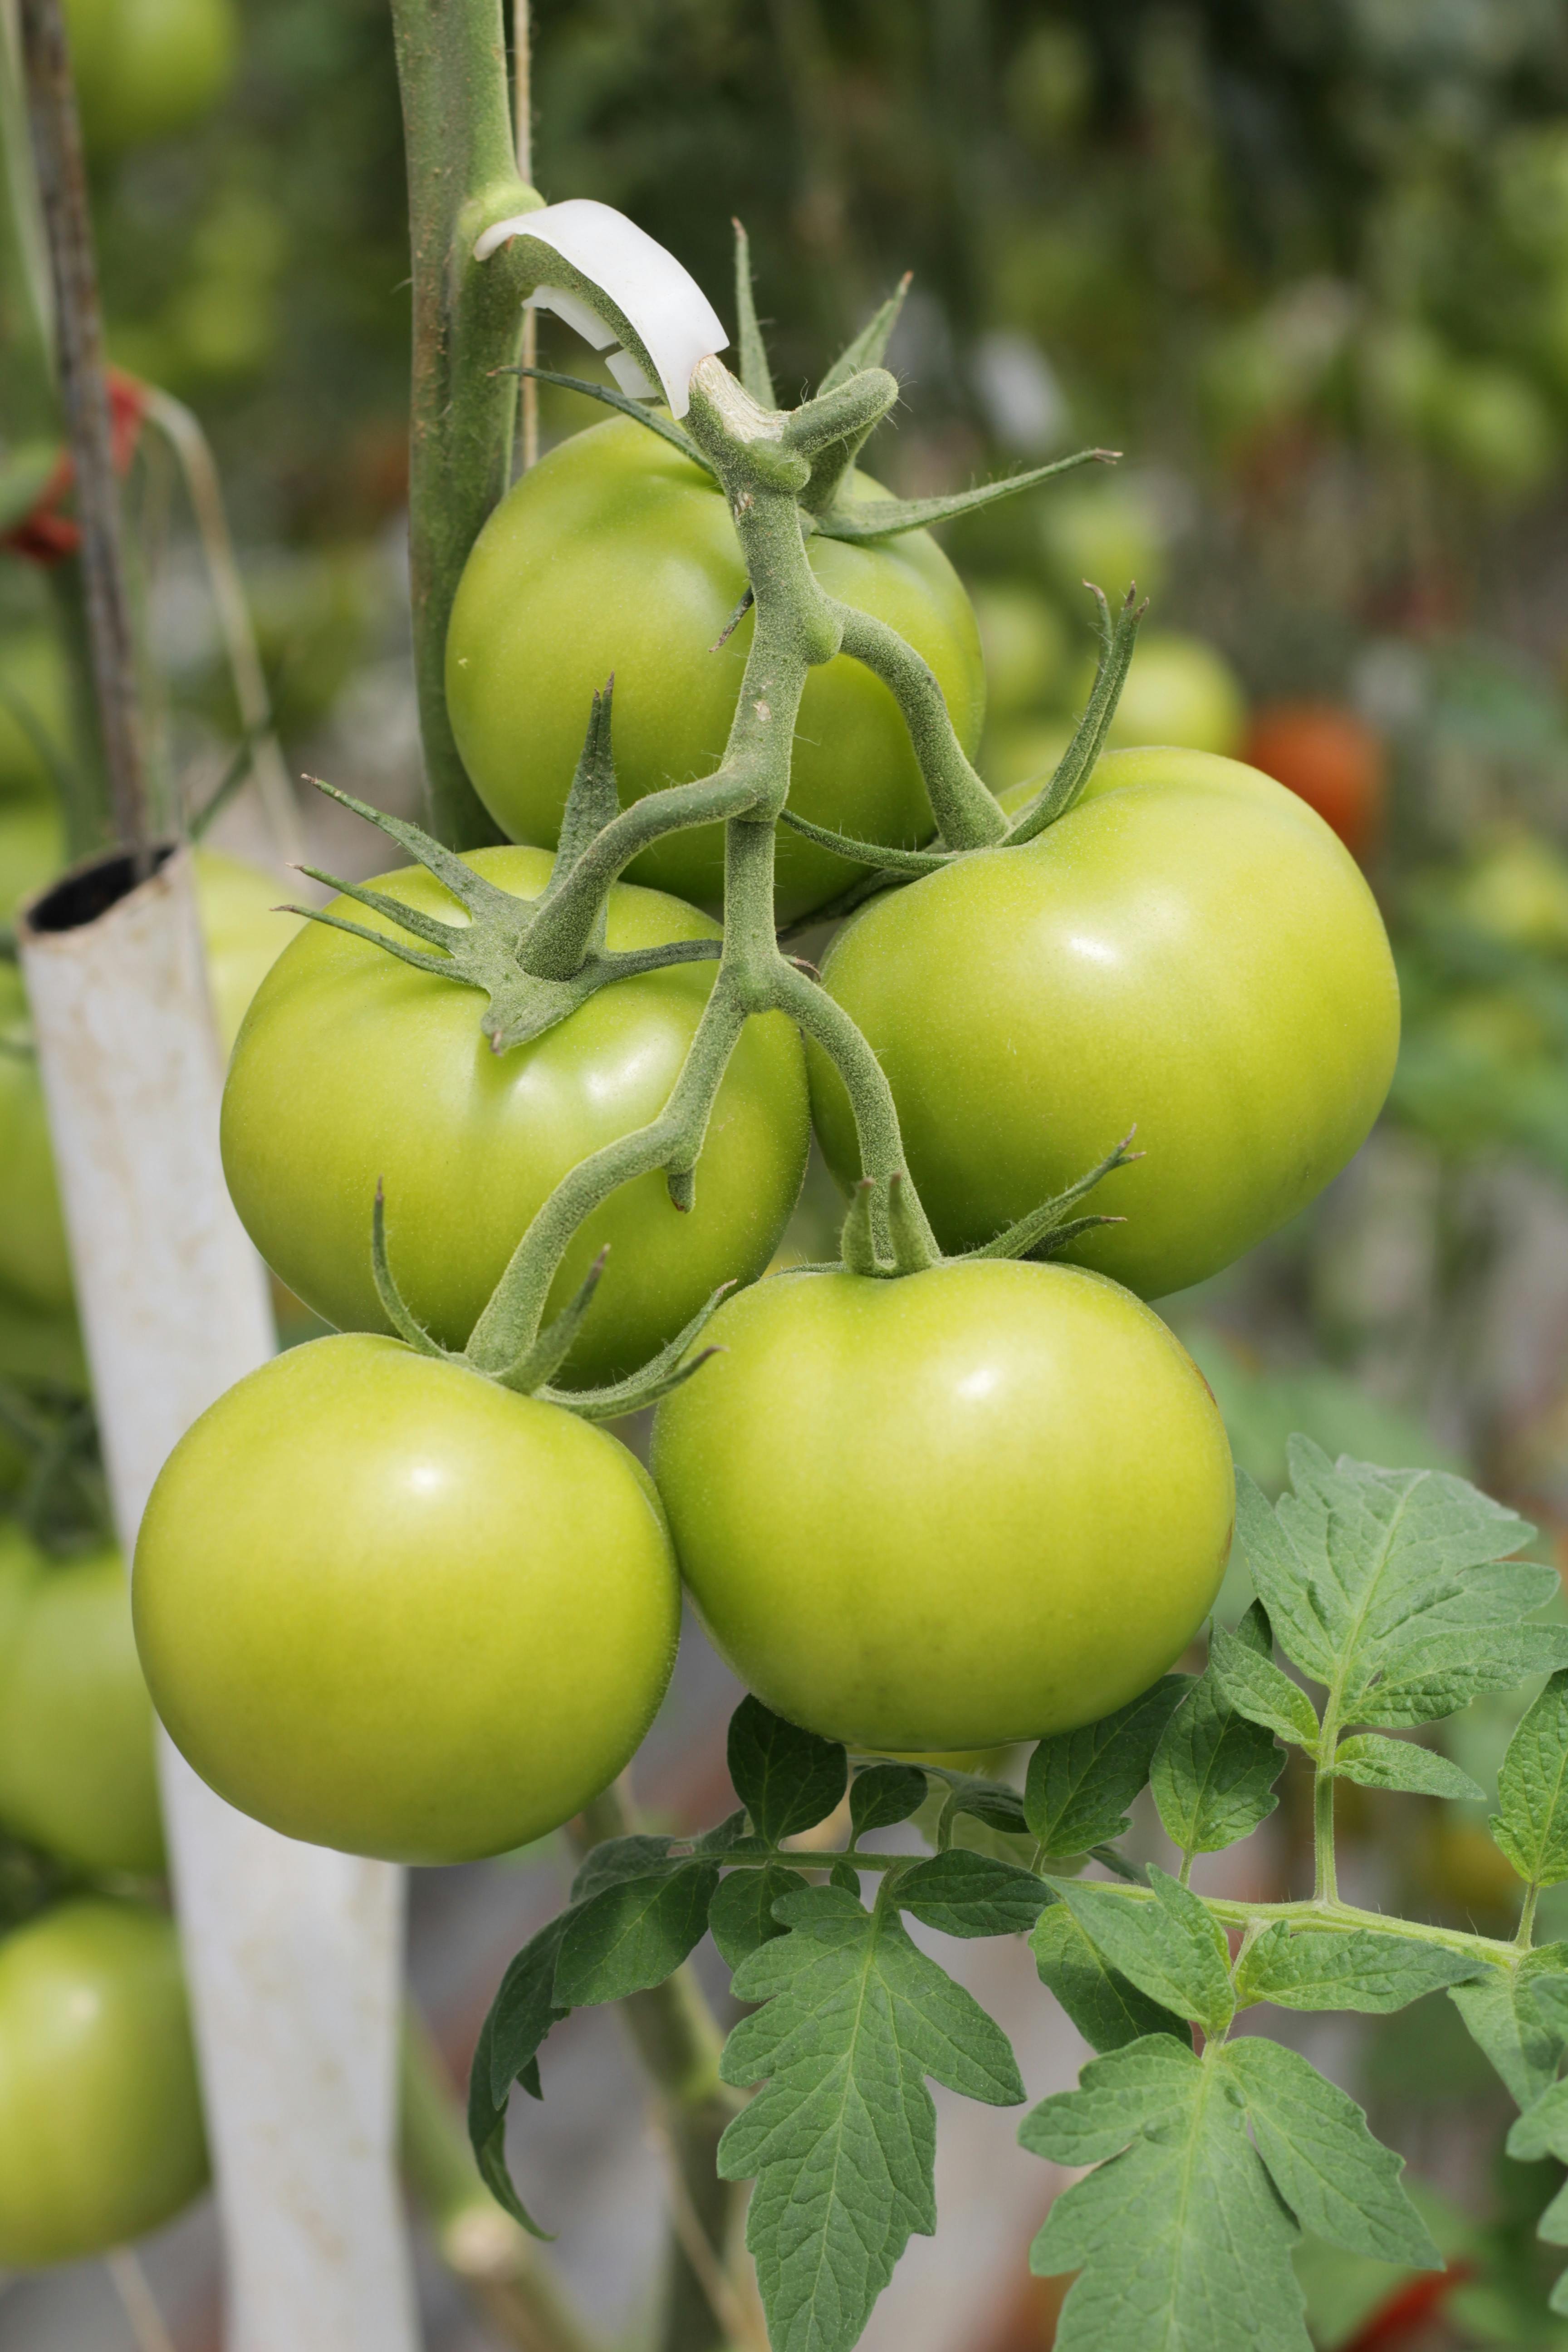
Ripening Green Tomatoes
At the end of the season, pick all green tomatoes before frost. Here's how to ripen them indoors:
- Place in a single layer in a cardboard box or paper bag
- Add a ripe apple or banana to speed ripening (ethylene gas)
- Store at 60-70°F, not in refrigerator
- Check regularly and use as they ripen
- They'll ripen over 2-4 weeks
Storage
Never refrigerate tomatoes! Temperatures below 50°F destroy flavor and texture. Store ripe tomatoes at room temperature, out of direct sun, and use within a few days. For longer storage, freeze, can, or dehydrate excess harvest.
Critical: No Refrigeration
Refrigerating tomatoes stops flavor development and turns the texture mealy. If you must store longer, freeze whole tomatoes for cooking, can them, or make sauce. For fresh eating, keep them on the counter at room temperature.
Troubleshooting Common Problems
| Problem | Symptoms | Cause | Solution |
|---|---|---|---|
| Blossom drop | Flowers fall off without setting fruit | Temperatures below 55°F or above 90°F, or water stress | Maintain consistent moisture; wait for better weather |
| Blossom end rot | Dark sunken area on fruit bottom | Calcium deficiency from uneven watering | Mulch, water consistently, add calcium to soil |
| Cracked fruits | Radial or concentric cracks | Irregular watering, rapid growth after dry spell | Maintain even soil moisture with mulch |
| Poor fruit set | Few fruits despite flowers | Too much nitrogen, lack of pollinators, or temperature extremes | Reduce nitrogen, hand pollinate, plant flowers to attract bees |
| Yellow leaves | Lower leaves yellowing | Overwatering, underwatering, or nutrient deficiency | Check soil moisture; fertilize if needed |
| Leaf curl | Leaves curling upward | Often normal in hot weather, or from transplant shock | Usually harmless; ensure adequate water |
| Catfacing | Deformed, scarred fruits | Cold damage during flowering, or thrips | Protect early blooms; plant later next year |
Companion Planting for Tomatoes
Certain plants grow well with tomatoes, improving growth and deterring pests:
Good Companions
- Basil: Repels flies and mosquitoes, may improve flavor
- Marigolds: Deter nematodes and other pests
- Borage: Attracts pollinators and deters tomato hornworms
- Carrots: Loosen soil around tomatoes
- Onions and garlic: Repel many pests
- Parsley: Attracts beneficial insects
- Nasturtiums: Trap aphids away from tomatoes
Bad Companions
- Corn: Attracts same pests (corn earworm/tomato fruitworm)
- Potatoes: Share blight diseases
- Fennel: Inhibits tomato growth
- Brassicas: Cabbage, broccoli compete for nutrients
- Walnut trees: Produce juglone that harms tomatoes
The Basil-Tomato Connection
Plant basil near your tomatoes! Many gardeners swear it makes tomatoes taste better. Scientifically, basil repels thrips and flies, and may improve essential oil production in tomatoes. Plus, they're delicious together in the kitchen!
Saving Tomato Seeds
Save seeds from your best tomatoes for next year. This saves money and develops varieties adapted to your garden.
Fermentation Method (Best for heirlooms)
- Choose fully ripe, disease-free fruits from your best plants
- Squeeze seeds and gel into a jar
- Add 1/4 cup water and cover with paper towel
- Let sit at room temperature for 2-4 days until mold forms on top
- Pour off mold, add water, swirl, and pour off floating debris
- Rinse viable seeds (they sink) in a strainer
- Spread on coffee filter or paper plate to dry for 1-2 weeks
- Store in paper envelope in cool, dry place
Simple Drying Method
- Choose ripe, healthy fruits
- Scoop out seeds and spread on paper towel
- Let dry completely for 1-2 weeks
- Separate seeds from paper
- Store in envelope
Conclusion
Growing tomatoes is a rewarding journey that connects you with the seasons and rewards you with the most delicious food imaginable. Every year brings new lessons, and even experienced gardeners continue to learn and improve.
Start with a few reliable varieties, pay attention to your plants' needs, and don't be afraid to experiment. The tomato you grow yourself—still warm from the sun, picked at the perfect moment of ripeness—will forever change your expectations of what a tomato should taste like.
Remember that gardening is about progress, not perfection. Some years will be better than others. Learn from each season, keep notes, and enjoy the process. Before long, you'll be the one sharing tomatoes with neighbors and offering advice to new gardeners.
Happy growing, and enjoy every single bite!